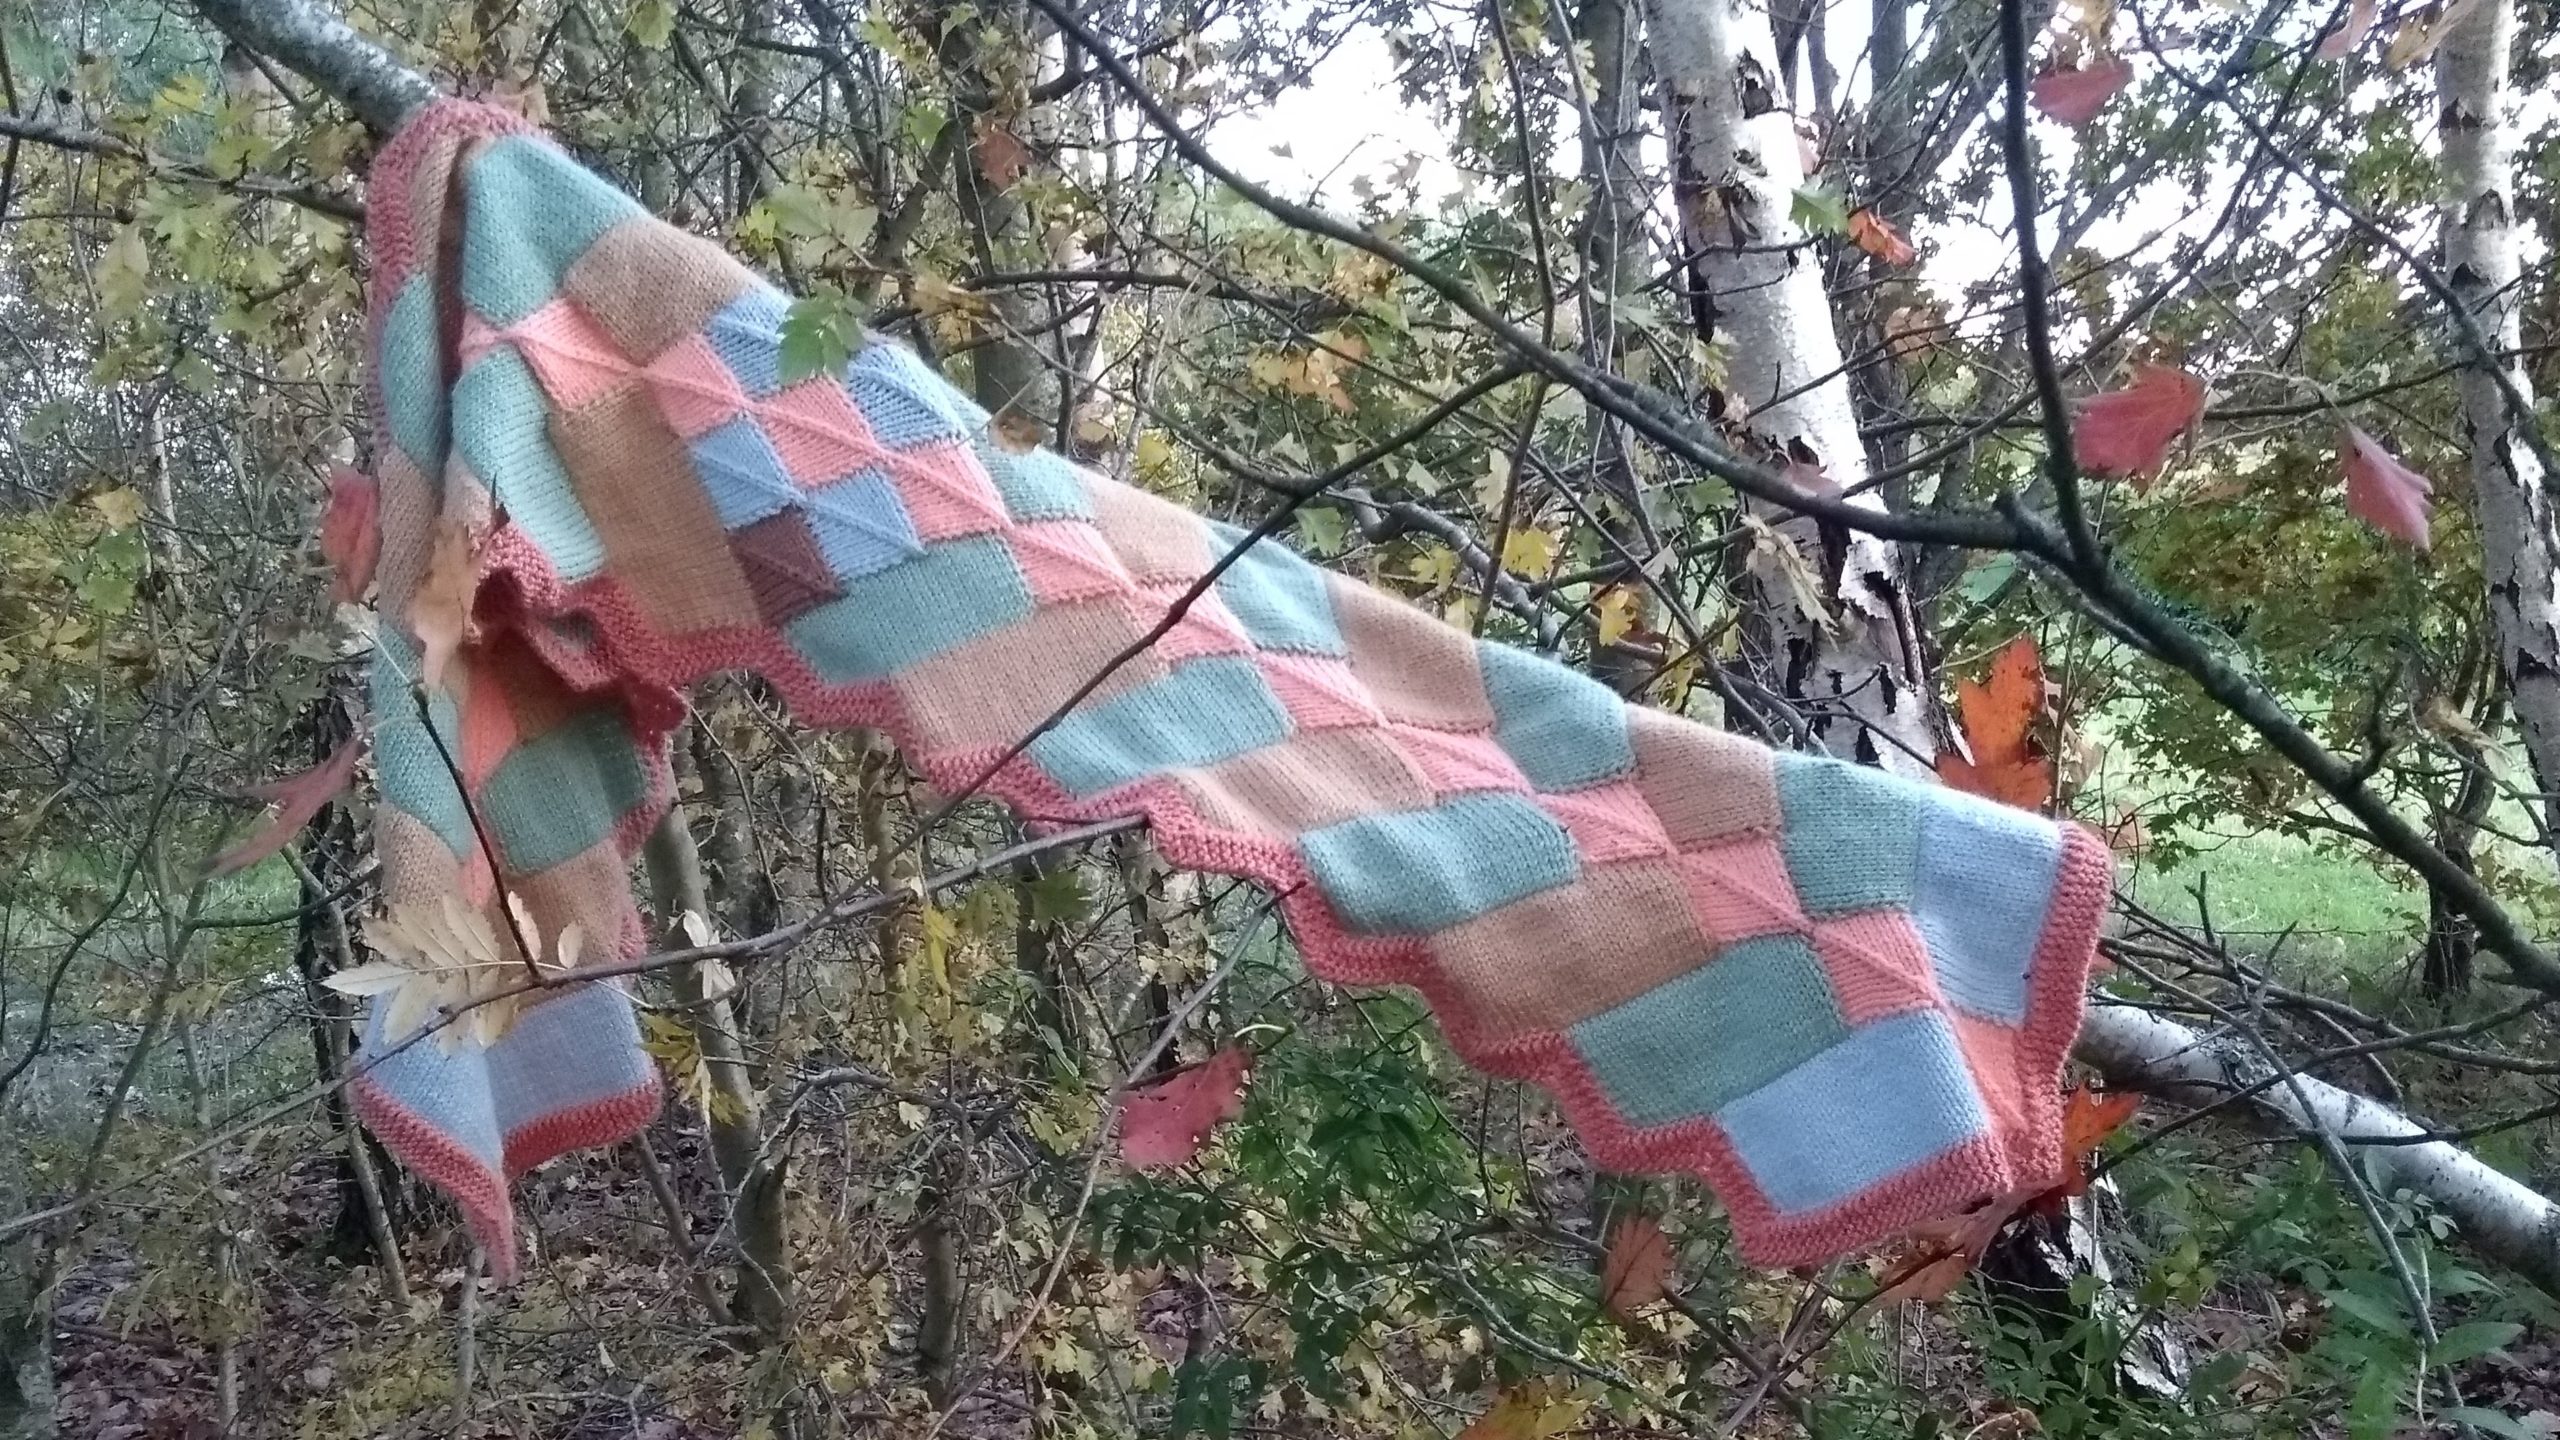
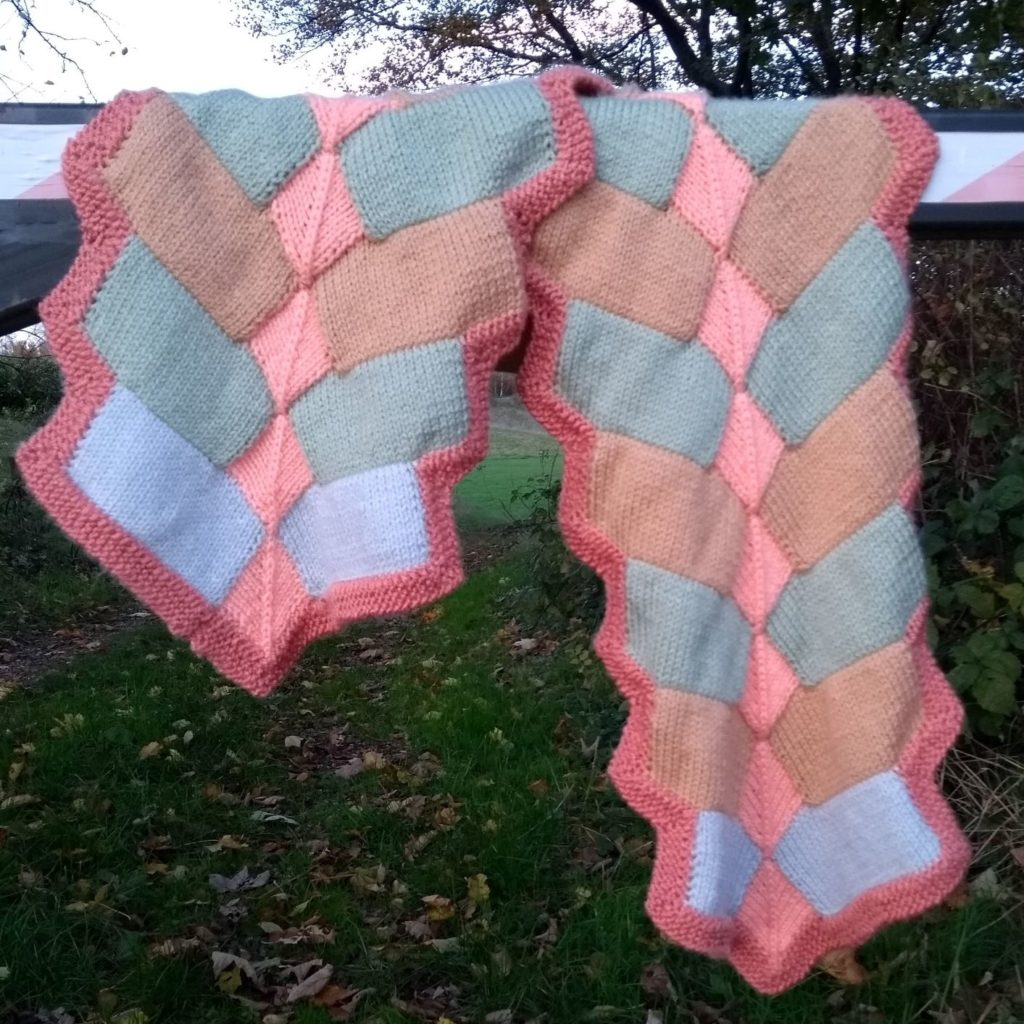
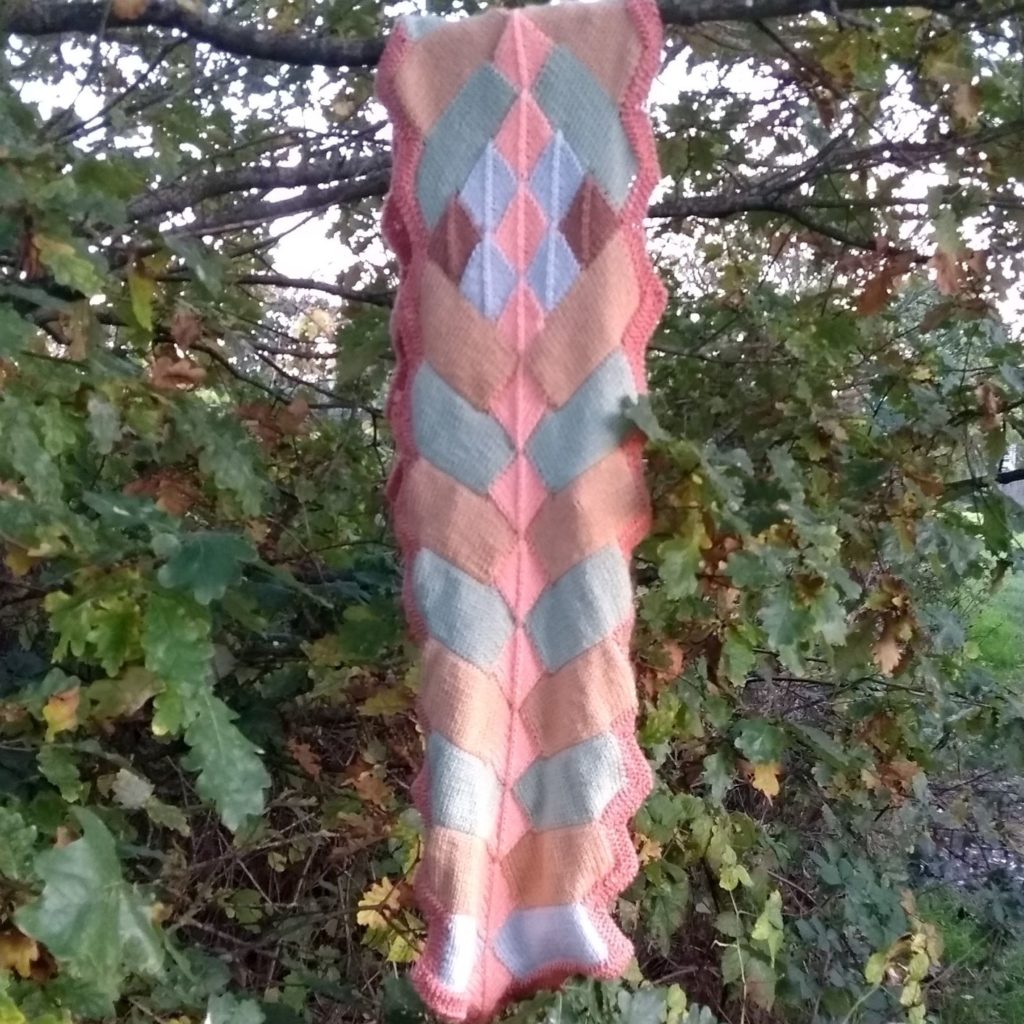
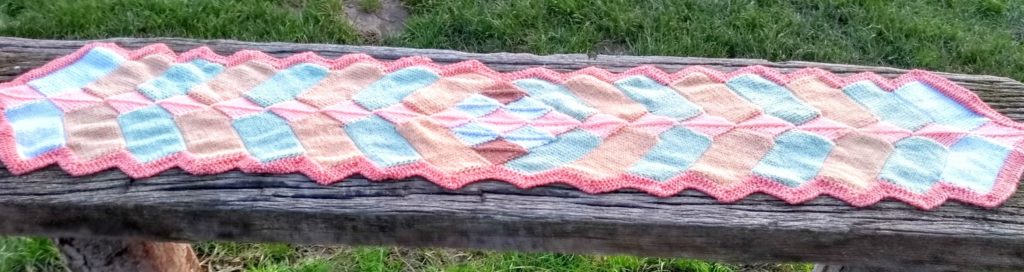
This knitted zig-zag squared scarf is inspired by soft autumn colours; misty days with the leaves just starting to turn. The day I chose to take photos was a perfect example of the type of days I had in mind when I chose the colours for the scarf. Despite the way it looks, the photo below has no filter on it, it’s simply the amazing things that late afternoon November sunshine can do.

I adapted a traditional patchwork pattern to create this scarf, using a technique similar to that used for my Friendship Cowl pattern. It knits up really quickly, and gives a big deep, snuggly scarf. You can download the free pdf for the pattern from Ravelry. As always though, there maybe modifications that you would like to do to the zig-zag squared scarf pattern – if so, read on for some advice!
Don’t like the zigzag edging? No problem
This scarf pattern can easily be modified to having a straight edge along the long sides. To do this, each stripe needs to have a sloped edge. If you prefer this look, substitute the following lines into the main pattern.
Component Stripes:
RH stripe:
Pick up 26 sts as directed by pattern.
1st row: s1, purl
2nd row: s1, k2tog, k to end
Repeat rows 1 and 2 a further 7 times. You should have 18 sts remaining.
Cast off.
LH stripe:
Pick up 26 sts as directed by pattern
1st row: s1, purl
2nd row: s1, k to last 2 sts, k2tog.
Repeat rows 1 and 2 a further 7 times. You should have 18 sts remaining.
Cast off
When it comes to picking up sts for each stripe, simply pick up 1 st in each cast off st (18sts total), in addition to the 8 sts from the central square. You will not need to miss any sts along the stripe, as this will now be the exact size that you need.
Adjusting the proportions of the scarf
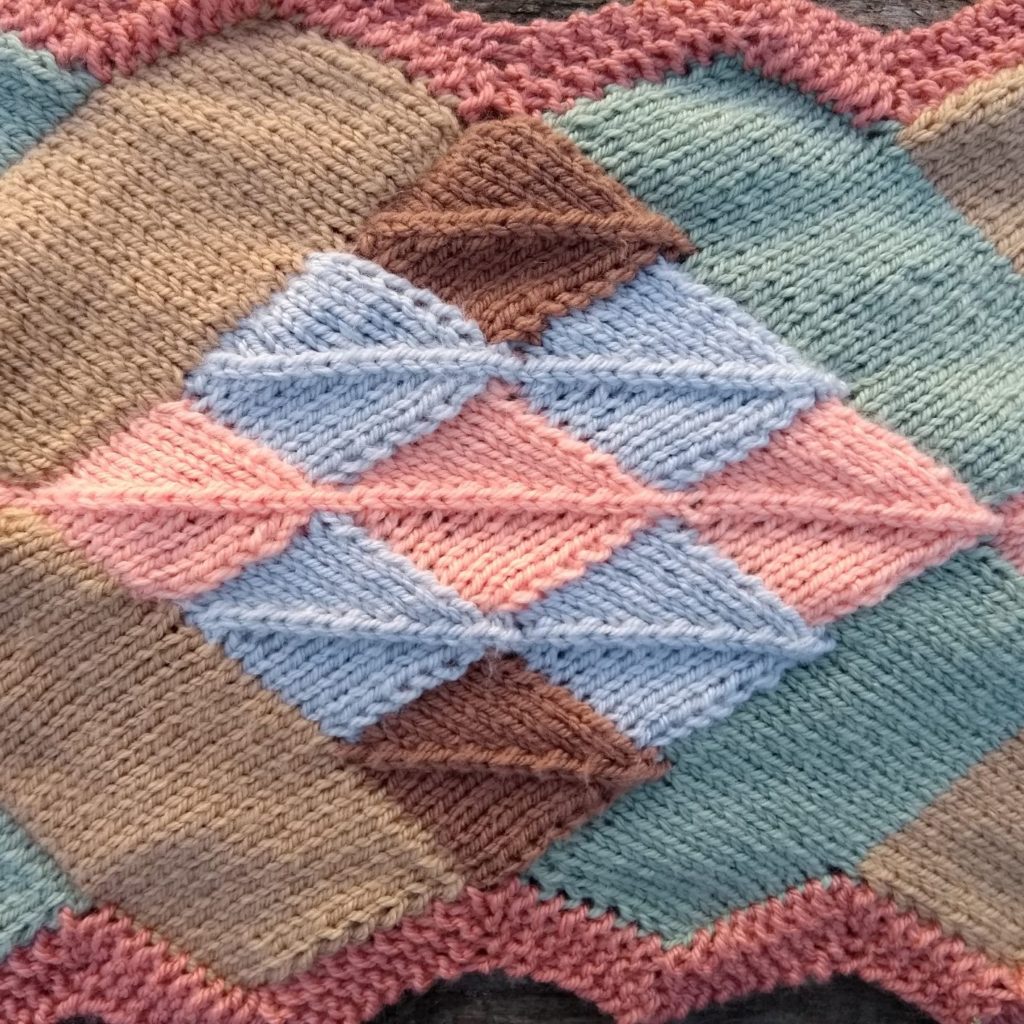
This scarf is quite wide, and this may not be to everybody’s taste. It can be easily adjusted, but it may be helpful to know something about how the zig-zag squared scarf is constructed and the relative proportions of each component part before embarking on any changes.
The scarf is constructed around the mitered squares – these determine the width of the whole scarf. If we think about the square as having a side length of 1, then the stripes are rectangles with the ratio 3:1. This means the long side is three times as long as the short side. Another way of thinking about this is that three squares will fit side by side inside the rectangular stripes.
As everything is set on an angle, the actual width of the scarf is 3 times the diagonal distance across the mitred square. You can calculate this distance by multiplying the length of the side of the square by 1.414 (the square root of 2). The length of the scarf is determined by the number of stripes that you add.
I have done some of these calculations for you, (assuming the tension given in the pattern) and so you can see the how large to make the centre square for the given final width that you prefer. I’ll also give the maths in more detail, for those of you who wish to substitute a different yarn and so will have a different tension (gauge).
| Mitred square | Stripe | Scarf | ||||
| Number of sts to cast on | Number of sts per side | Length of the side (cm) | Approx. Diagonal length (cm) | Number of sts | Number of rows | Finished width (assuming an edging of 1.5 cm) |
| 7 | 3 | 1.67 | 2.5 | 11 | 6 | 11cm 4.5in |
| 8 | 4 | 2.22 | 3 | 14 | 8 | 12cm 4.75in |
| 11 | 5 | 2.78 | 4 | 17 | 10 | 15cm 6in |
| 13 | 6 | 3.33 | 4.75 | 20 | 12 | 17.5cm 7in |
| 15 | 7 | 3.84 | 5.5 | 23 | 14 | 20cm 8in |
Calculating the dimensions of the scarf for other tension/ gauge
If you are not daunted by maths and fancy trying out the scarf in DK or chunky yarn, you might want to have some idea of the finished size before you start to knit. None of the maths is especially hard, but there are a few steps to go through.
Defining terms:
s: number of stitches per unit measurement. This could be stitches per 10 cm, or stitches per 4 inch.
r: number of rows per unit measurement (rows per 10 cm, or rows per 4 inch)
l: length of side of square (in cm or in)
d: length of diagonal of square (in cm or in)
n: number of stitches on side of square.It
- Working out the width of one stitch
- First work out how wide one stitch will be in whichever units of measurement you prefer.
- To do this, you need to divide 10 (for cm) or 4 (for inches) by s.
- Work out the length of, or number of stitches in, the square.
- Option 1: from the number of stitches. If you know how many stitches you want in the square, you can work out the length of the side.
- To do this multiply the width of one stitch (calculated in step 1) by the number of stitches on the side of the square (n).
- Option 2: from the desired length. If you know the size of square you want, but not how many stitches this would be, you can calculate this too.
- Divide the length by the width of one stitch (making sure that you don’t mix units of measurement)
- Option 1: from the number of stitches. If you know how many stitches you want in the square, you can work out the length of the side.
- Work out diagonal length of the square.
- To do this multiply the length of the square (l) by 1.414
- Calculate the width of scarf without edging
- Multiply the diagonal length (d) by 3
- Figure our the stitches and rows for the stripe
- Number of stitches: this equals three times the number of stitches on the side of the square (n) plus 2 additional stitches
- Number of rows: this is twice the number of stitches for one side of the square.
Worked example
Using DK yarn (22 sts to 10cm), and 5cm mitred squares.
- Width of one stitch
- One st = 10/s
- one st = 10/22 = 0.45.
- Work out the number of stitches in square
- n= l/(10/s)
- n= 5/(10/22)
- n=5/0.45
- n= 11
- to make a mitred square with 11 stitches on each side I would need to cast on 23 stitches (11 x 2+1).
- Work out diagonal length of square
- d= l x 1.414
- d= 5 x 1.414
- d= 7
- Width of scarf (without edging)
- width = d x 3
- width = 7 x 3
- width = 21
- Stitches and rows for stripe
- stitches = 3 x n
- stitches = 3 x 11 = 33
- rows = 2 x n
- rows = 2 x 11=22
Texture instead of colour
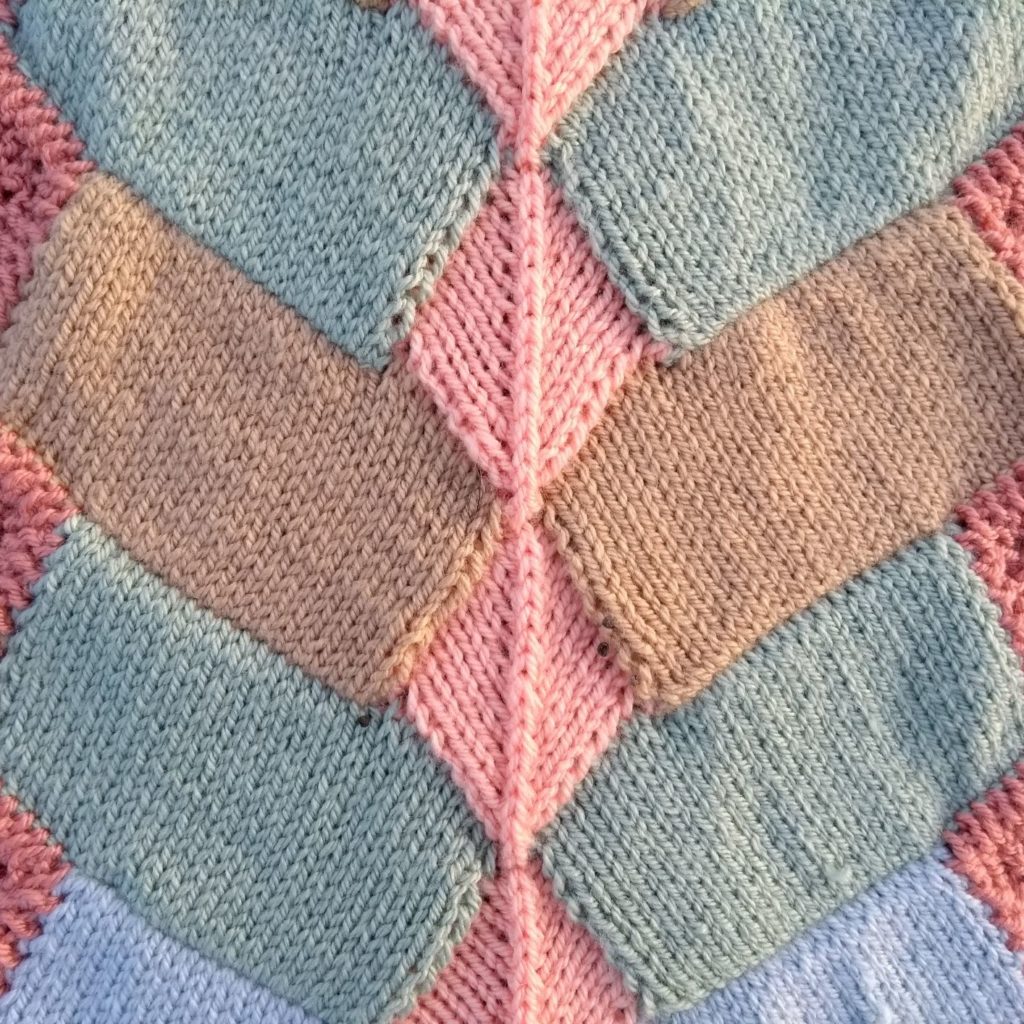
Each stripe is made by picking up and casting off stitches, resulting in a clear boundary between stripes. This boundary would be visible even without the colour change. What about the possibility of playing with texture rather than colour, and making the scarf from one single colour? Perhaps a solid, or a tweed, or something with a bit of speckle…
You could also play around with other stitch patterns and textures to define the stripes even more. What about cables? Or block stitch, or moss stitch? Some funky ribbing? I’d love to see your creations based on the zig-zag squared scarf pattern – please share on my Facebook page.