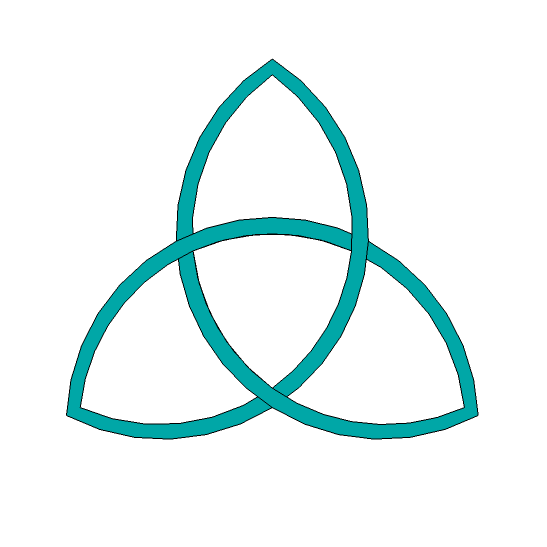
You are currently viewing Celtic knots – the continuous loop knot

Celtic knots – the continuous loop knot

I’ve been thinking a lot about celtic knots recently.  After spending some time knitting knots of various sorts, I decided to return to crochet and see if I could make a hexagonal knot.  Given the size of this motif, it could make a good centre for a mandala.  My triquetra bunting also uses this technique of a celtic knot as a centre piece of a shape.   I started by going back to previous designs for a triangular and square knot – I call these the continuous loop knot.  Let’s look at how it goes together.

The continuous loop knot

diagram showing the three point celtic knot with crossing intersections

Adding more loops

Whilst the crossing is quite straight forward for a triangle, the complexity increases dramatically once you reach a hexagon.  This multi-coloured monstrosity of a hexagonal knot is an attempt to show that the same logic exists for this shape too: each strand starts at a point, then curves to the next one around the edge.  A smaller hexagon is made in the centre, and the over, under, over, under sequence is complete throughout the knot.

This is the challenge – are you ready to recreate this in crochet?

This knot family is made by looping one continuous strand throughout the knot and back to the start again.  

The strand starts at one point and curves around the opposite side of the knot before returning to make the next point (either clockwise or anti-clockwise) on the edge.  The shape of the knot is mirrored in the centre; so a triangular knot will have a smaller triangle in the centre.  As the number of points in the shape go up, so do the number of times the strand crosses and recrosses itself.

A general requirement of celtic knotwork is that each crossing point should alternate with the one before to give an over under over under sequence.  If you follow a strand around you should go over, under, over, under, over, under etc.  Two or more overs next to each other and something has gone wrong.

diagram showing intersecting loops for hexagonal celtic knot

Continuous loop hexagonal knot

When crocheted with DK yarn on a 4mm hook, this motif measures approximately 14cm (5.5 inches) from point to point.

Instructions are given in UK terms.  To convert to US terms: dc = sc, htr = hdc and tr = dc.

Row 1: *ch 6, ch 3 and slip st into the first chain of the group (now referred to as picot), ch 34. Repeat from * five more times (you should have six picots).
Row 2: ch 1, *1 dc into next 29 stitches, 1 htr into next 2 sts, 1 tr into next 2 sts, tr3tog (make a partial treble from the next st, from the centre of the picot, and the following stitch.  You should have 4 loops on your hook.  Pull a loop through all 4 loops), 1 tr into next 2 sts, 1 htr into next 2 sts, 1 dc into next stitch. Repeat from * five more times.

Fasten off, leaving a tail to weave in later.

If you prefer working by chart, the repeat sequence is given below (between indicators 1 and 2).  You need to work this six times, then ch 1 to turn the row.

crochet chart for hexagonal continuous loop celtic knot
The next step is to weave the knot together.  It is easy to get lost as this knot is very complex.  In order to help, I have included photos of the knot being woven step by step.  The diagram to the right indicates which strands have been placed (red) and which have not yet been woven (grey).  This should help to keep track of the unders and overs.   
 
instructions for weaving celtic knot crochet motif
diagram for weaving celtic knot crochet motif
Step 1:
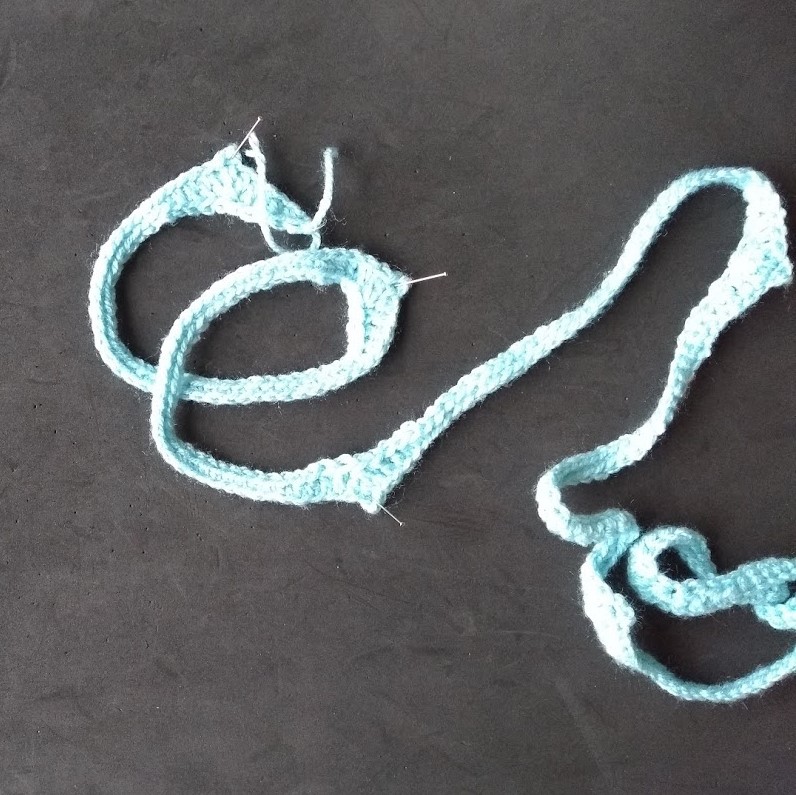
I find it easiest to weave these knots by pinning the points, and some intersections down. Start by pinning point 1 at the top with the ends of the crochet pointing to the right. We are going clockwise around the knot, so curl the work around and pin the second point down.
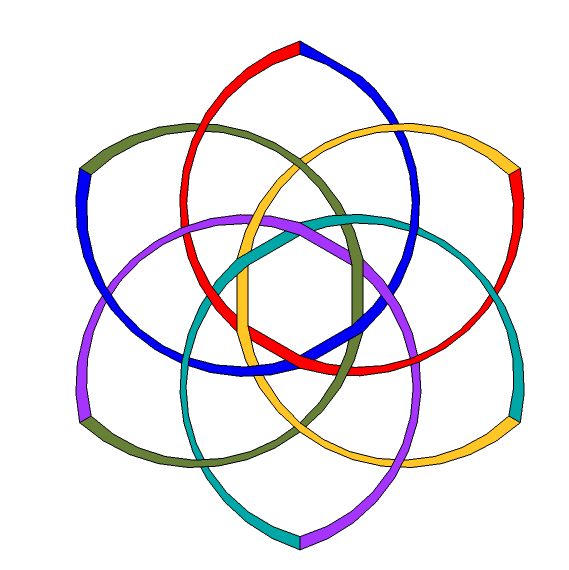
instructions for weaving celtic knot crochet motif
diagram for weaving celtic knot crochet motif
Step 2:
The first of the under overs is coming up. Continue to curl the work around to the next point, making sure you pass over the existing strand.
instructions for weaving celtic knot crochet motif
diagram for weaving celtic knot crochet motif
Step 3:

Now we are headed to the bottom of the knot.  Continue to curl the work to this point, making sure you cross the existing strands in the order over, over under (we will come back to fill in the missing intersections later).  It’s a good idea to start using the diagram now to identify which cross overs are which; the better you know the knot the easier the last stages will be.

instructions for weaving celtic knot crochet motif
diagram for weaving celtic knot crochet motif
Step 4:

The next point to pin down is at the bottom left of the hexagon.  You need to weave around carefully, but luckily the sequence coincidently obeys the alternating rule.  You’re going over, under, over, under, over.

instructions for weaving celtic knot crochet motif
diagram for weaving celtic knot crochet motif
Step 5:

Almost there!  Just one more point to place.  Things are getting tight now, so pay close attention as you curl around to the top left.  The sequence for these intersections is: over, under, over, over (these two strands are close together and easily over looked), under, over, under.

instructions for weaving celtic knot crochet motif
diagram for weaving celtic knot crochet motif
Step 6:
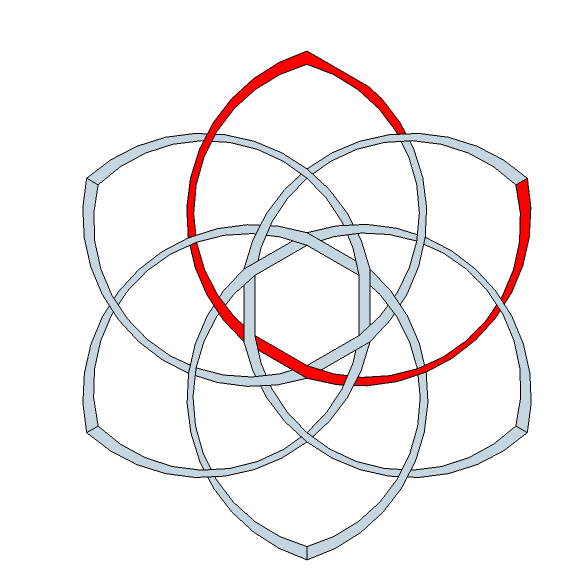
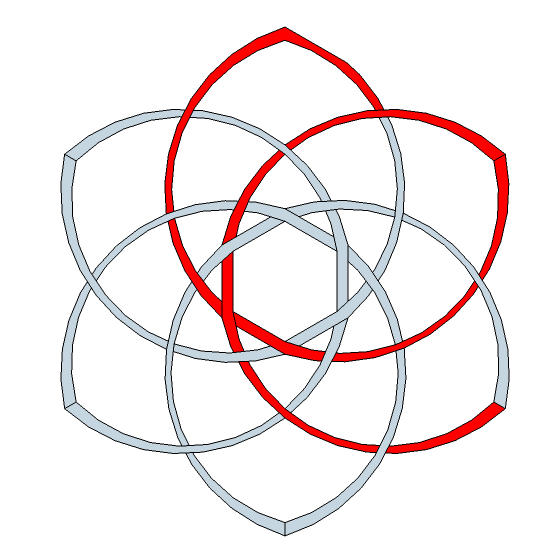
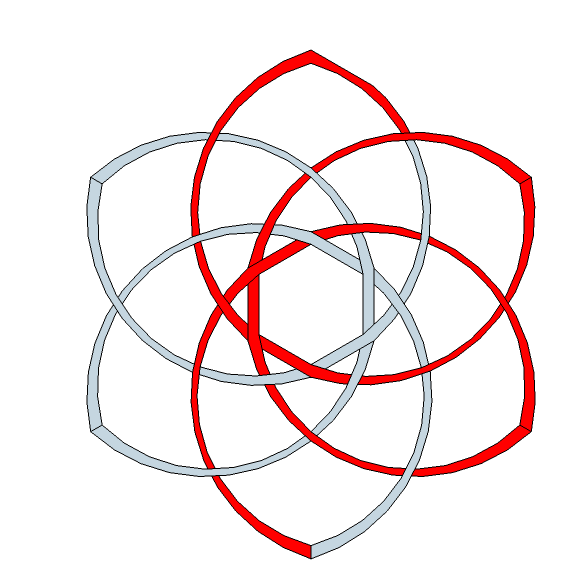
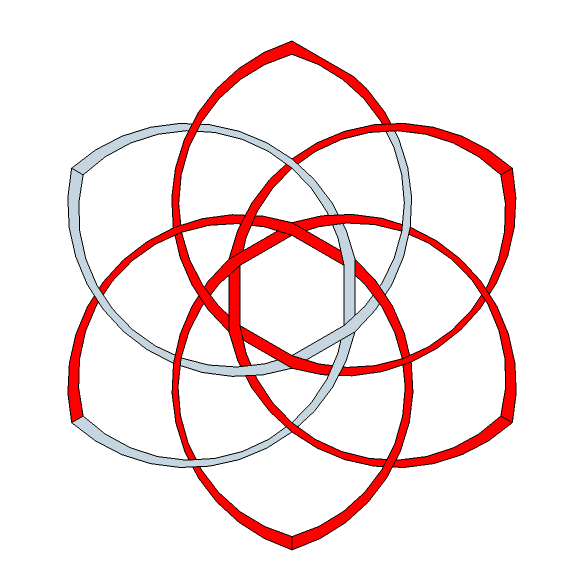
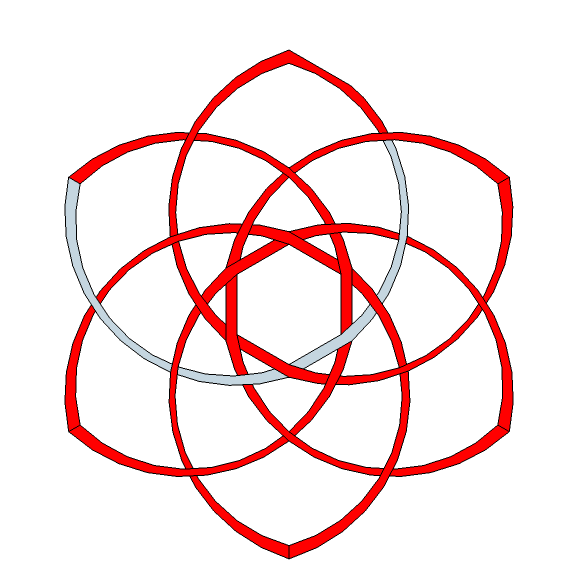
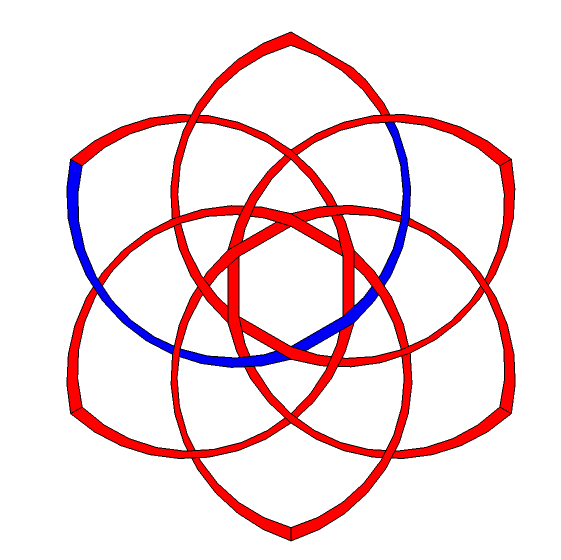
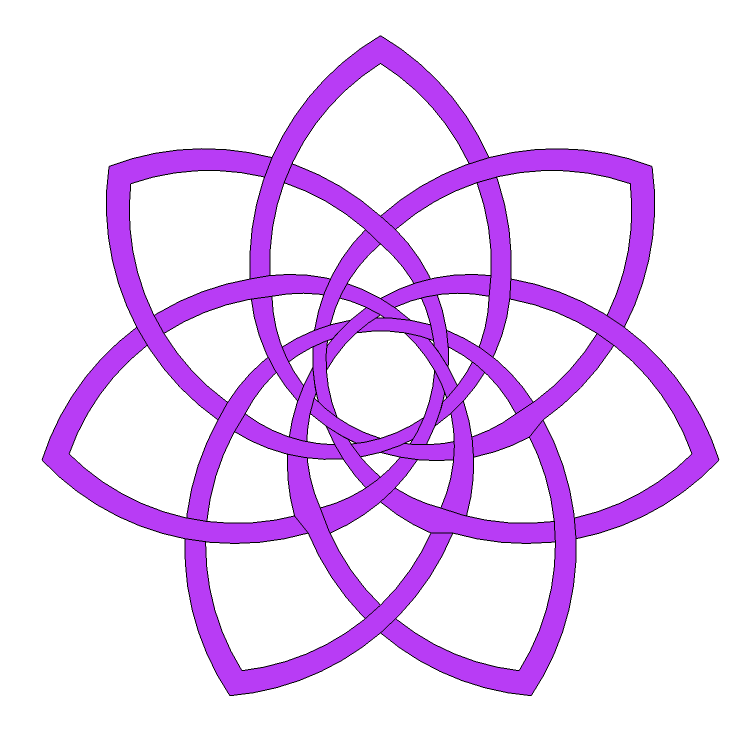
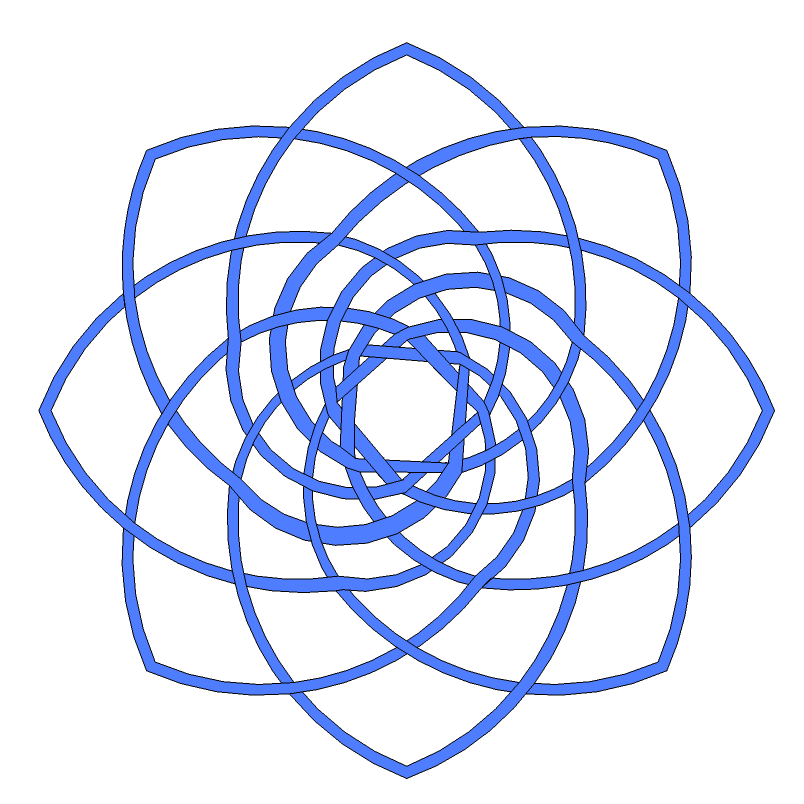
There are a lot of strands to cross now and it is easy to get lost.  I’ve highlighted the route you need to take in blue on the diagram, to try and help you to pick out the correct strand to follow.  Not only do you need to get the right sequence, you also need to ensure that you are crossing in the right place.  This might involve squeezing into tight places.  The sequence is: over, under, over, under, over, under, over, under.  Phew, you’re home! 
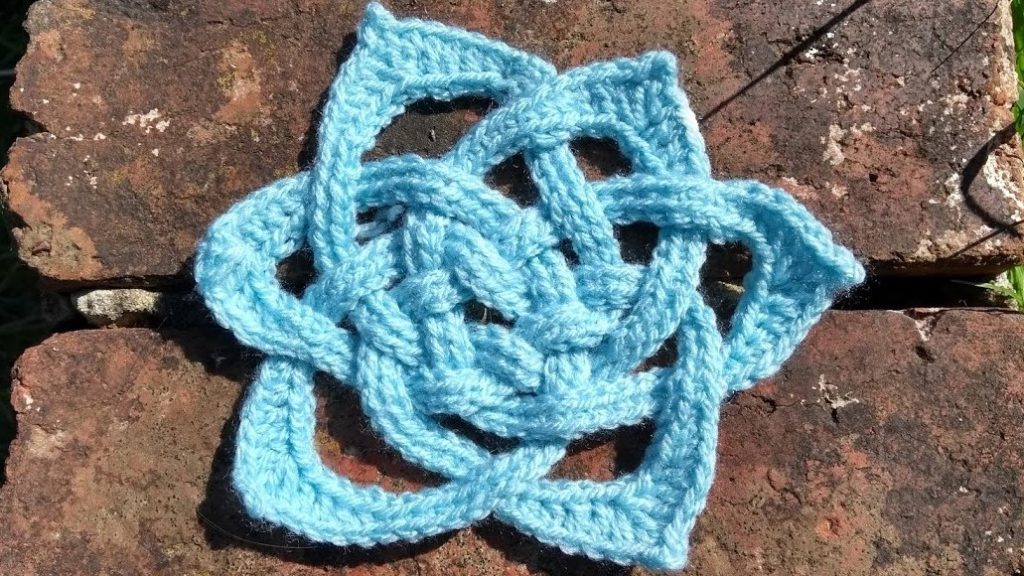
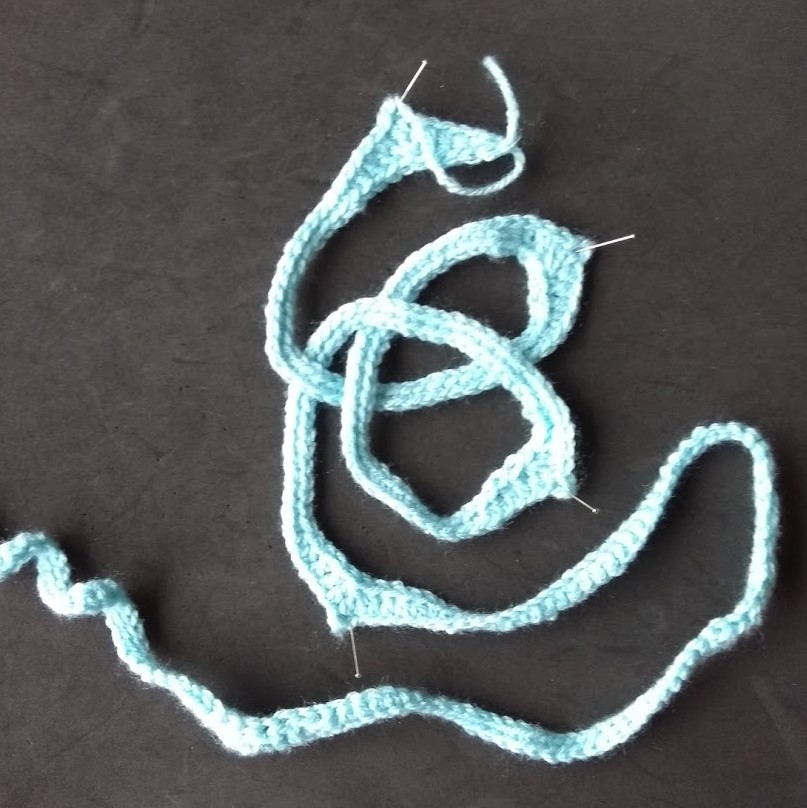
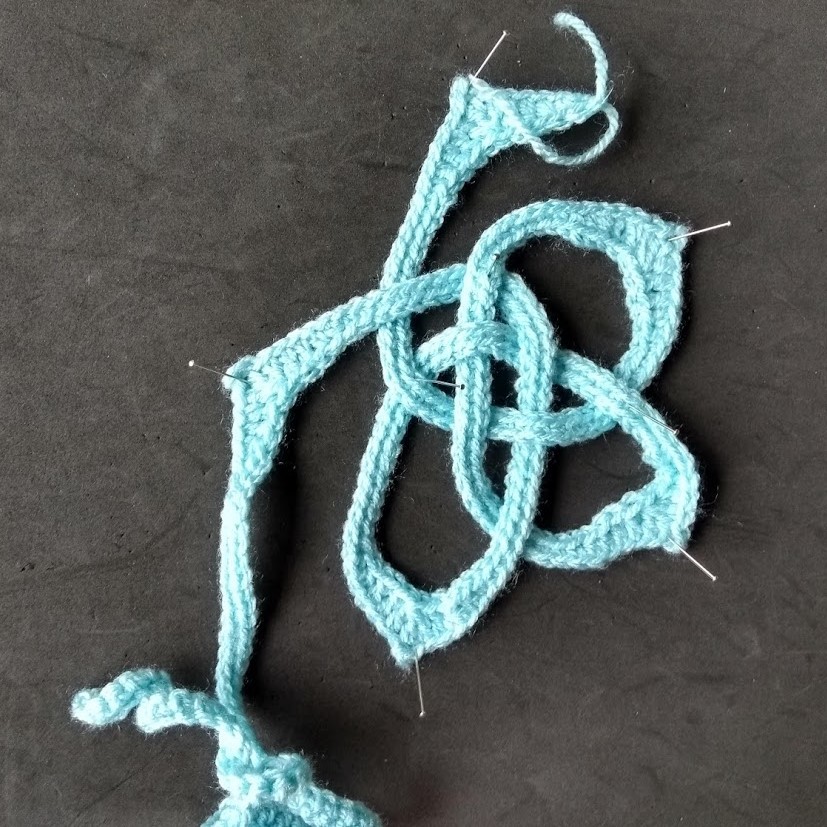
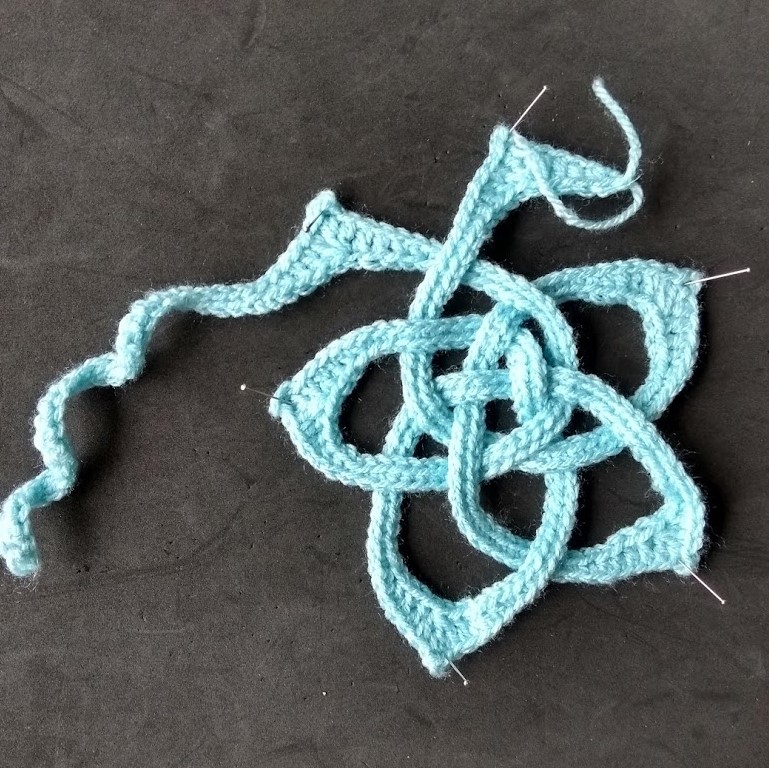
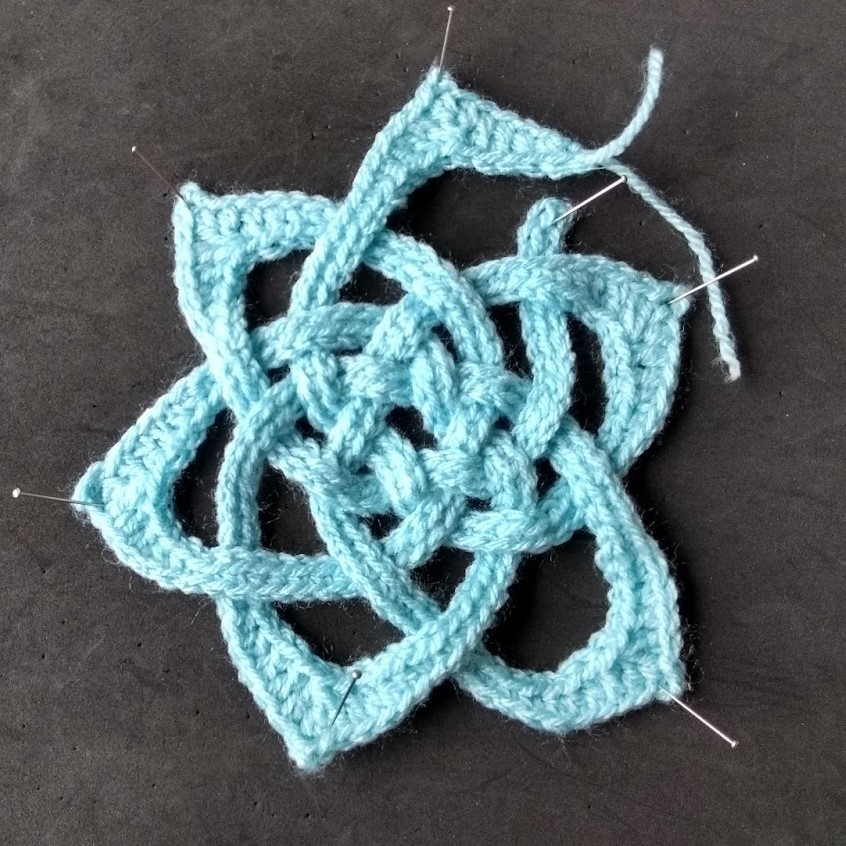
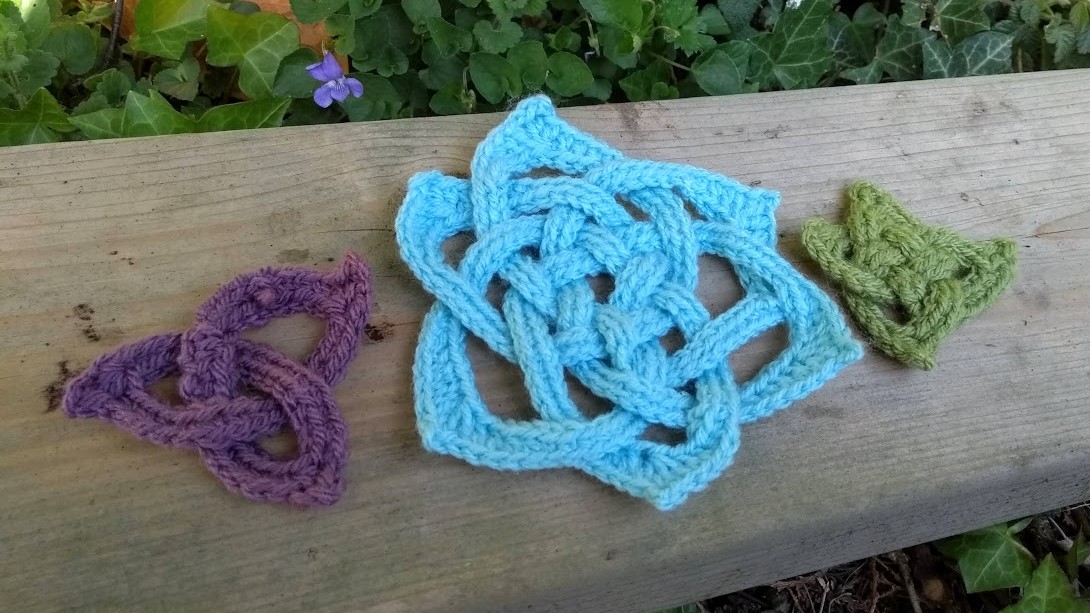
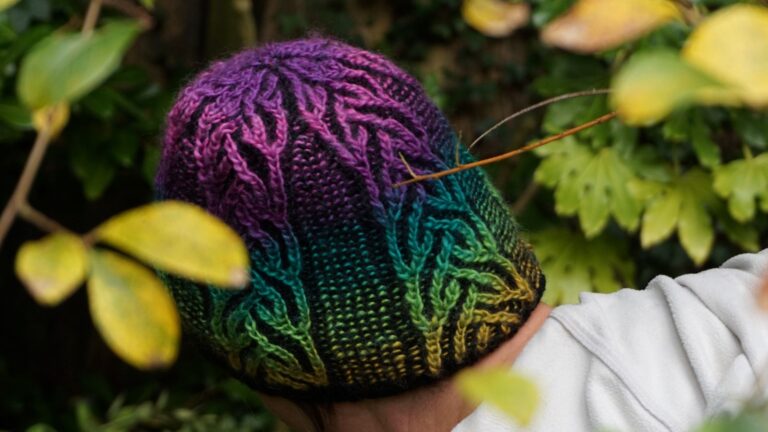
At this point I would strongly recommend that you follow the strand throughout the whole knot to check your under and overs before joining the motif together.  You may notice that my ends are very short in the photos.  Listen to the voice of experience – I missed the checking step and had to unpick my seam.  There is the advantage that it makes the photos clearer though.  Silver lining and all that.  

Other variations

As each knot has the same basic construction, this pattern can be adapted to create any shape.  Patterns for a triangle and square version have already been given in a previous blog post.  You do need to think about the finished shape when adapting the pattern.  Shapes with fewer points have fewer crossovers and so need a shorter starting chain between picots.  Also, I added some trebles to the hexagon pattern at the picot points.  This makes the strand a little thicker at these points, which helps to fill some of the space left between cross-overs here.  How you adapt and make these changes is up to you. Have a tweak and play until you are pleased with the finished look.  Personally,  I wouldn’t go beyond eight loops as it becomes too much of a brain ache.  To be honest, I feel that six points is about the limit that my brain can cope with.  If you do want to explore, I’ve provided diagrams below for each knot, to give you some help with the over and unders.

diagram showing the three point celtic knot with crossing intersections
diagram showing the five point celtic knot with crossing intersections
diagram showing the seven point celtic knot with crossing intersections
diagram showing the four point celtic knot with crossing intersections
diagram showing the six point celtic knot with crossing intersections
diagram showing the eight point celtic knot with crossing intersections

If, like me, you rather like the look of the octagonal knot, but are rather scared of taking it on – fear not.  In the next blog post I’ll talk about another way to create these larger knots that is much easier for the brain to compute.