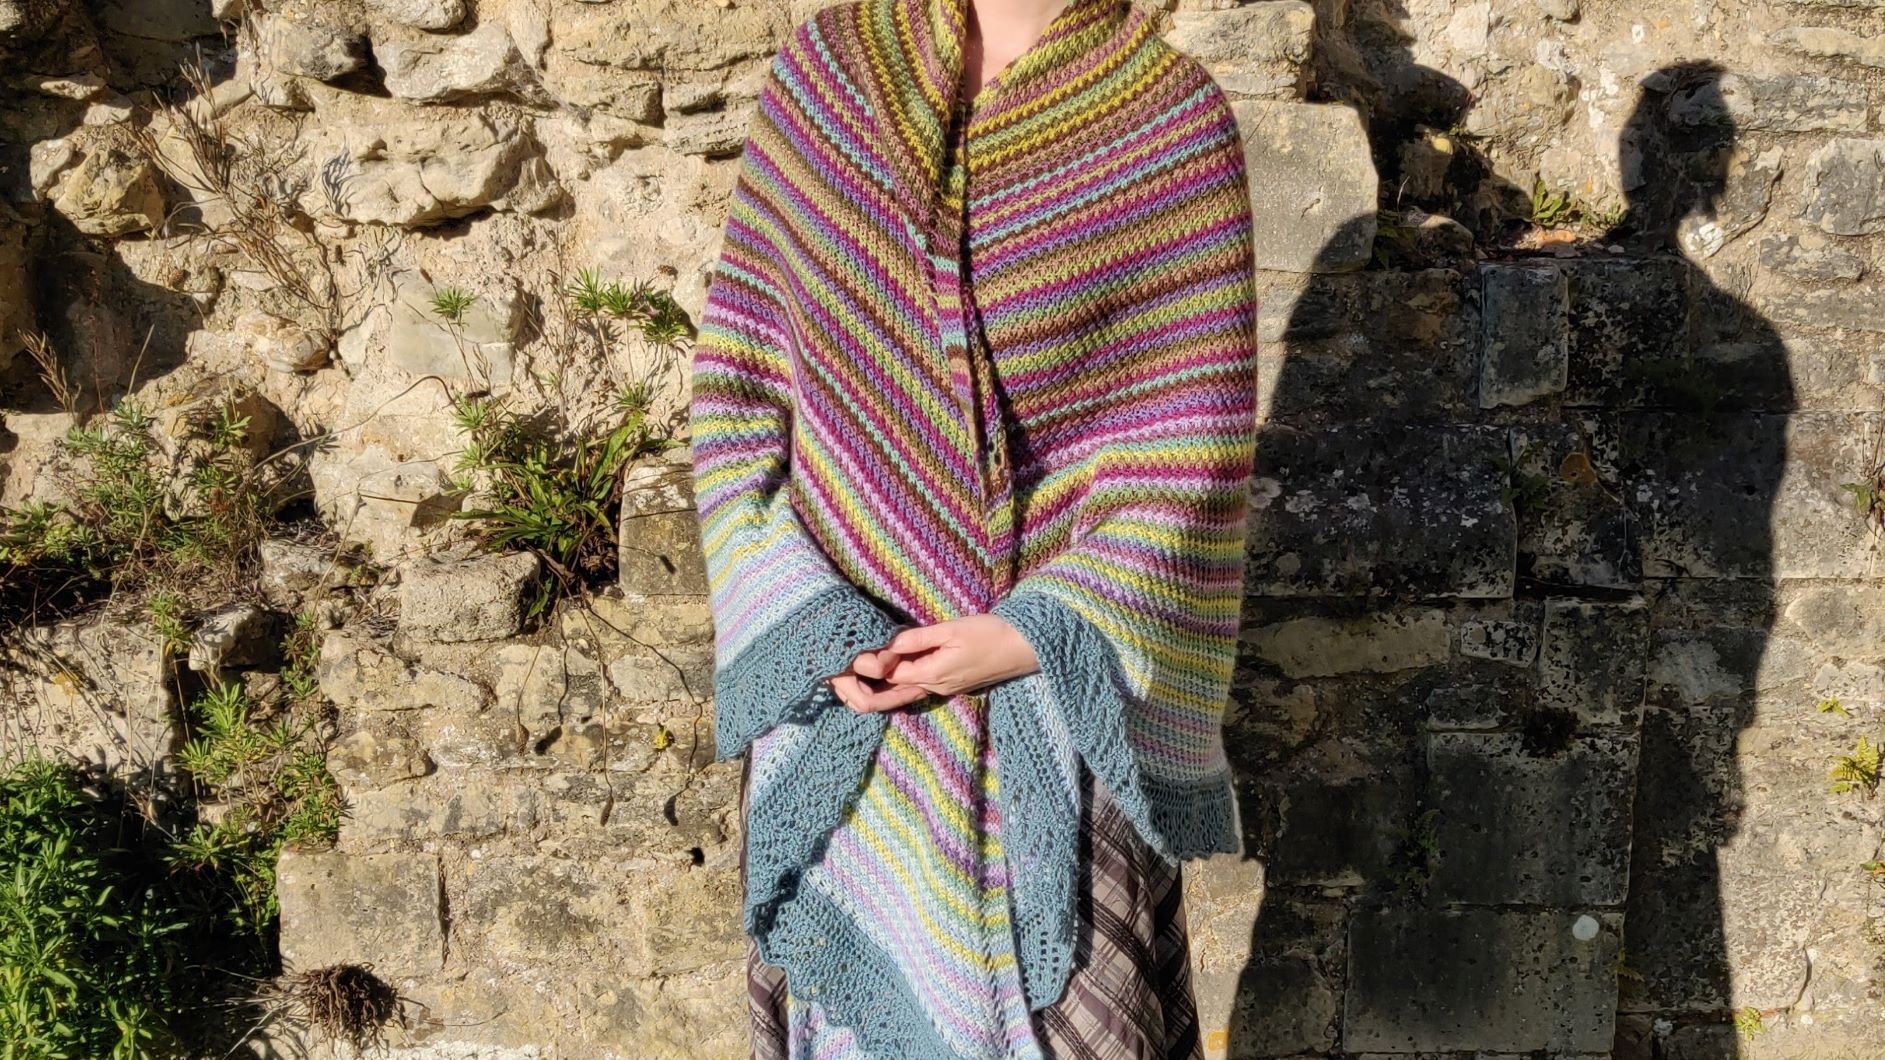
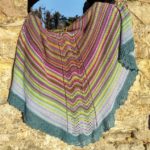
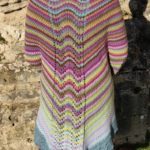
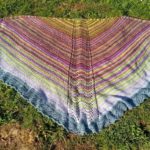
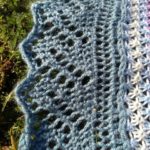
You can find this pattern as a free pdf download, available from Ravelry, or read more about the inspiration for pattern. No pattern is ever perfect, so if you want to customise the pattern, the advice below may help you.
Customising the pattern
Substituting yarn
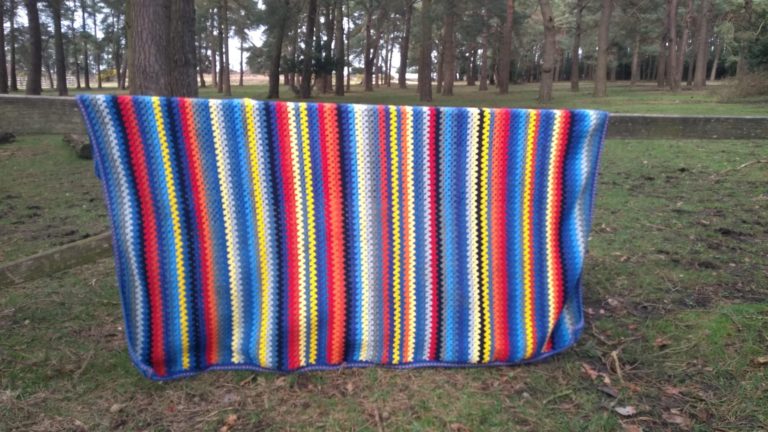
The sizing of the shawl is not crucial – it is all knitted in one piece so there is no seaming to worry about matching, and it loosely wraps around the body so there are no measurements that need to be exactly right. This means that you have a lot of choice in the yarn that you could use for this project. You could easily change the weight – either up or down, although a 4 ply or lace weight yarn might look better than chunky. If you choose to do this, you will need to change needle size to something appropriate for the yarn you use. This WILL change the overall size of the shawl. I’d suggest you make a swatch with several different sized needles and choose the one that provides a fabric with the right amount of drape. This probably means that you go up at least one size from the recommended needles for the yarn.
The content of the yarn will also make a difference to the look and feel of the shawl. I would avoid sock yarns for this project as you want softness and drape, not springy stretchy-ness. Likewise the stitch definition given by cotton maybe too much for this design. It might also be worth thinking about how well (or easily) the yarn will block too.
Changing the size
A Faroese shawl is made up of two right angled triangles sitting alongside the central gusset. In addition there are darts knitted into the shoulders to help keep the shawl in the right place. What this all means is that it is not easy to change the size of the shawl without doing some maths. However, if you did want to avoid the maths, you could change the shape of the shawl – see below. Still up for the challenge? OK then, here goes. Against tradition, this pattern is knitted from the top down. The final size is determined by the number of stitches in the last row of the right angle triangle – we’ll call this total stitches. Each triangle increases by 2 stitches on each right side row (one by each garter edge and one next to the central gusset). The first row is an increase row, so row 1 has a total of 4 stitches, row 3 (the next right side row) has 6 stitches and so on. The first shoulder shaping is placed on the row which contains 20% of the total stitches. Stitches are increased on this row by 25%. The second shoulder shaping is placed when 44% of total stitches are completed. This row increases by 20%. Has your head exploded yet? Perhaps it might be time for some real numbers in a worked example:
Step 1: decide how long the side of the triangle will be – let’s assume 150 stitches. Do remember that this number should be divisible by half the number of rows in the lace border pattern repeat.
Step 2: placing the first shoulder shaping. Work out 20% of 150 = 150 x 0.2 = 30
Step 3: placing the first shoulder shaping. Work out which row will have 30 stitches = 30-3 = 27
Step 4: working out first shoulder shaping increase. On row 27 I need to increase by 25% of the stitches I currently have. I have 30 stitches, so I need to add an additional 30 x 0.25 = 7.5 stitches. I need an even number of stitches for my stitch pattern, so I would increase by 8 stitches evenly distributed across the row.
Step 5: placing the second shoulder shaping. Work out 44% of 150 = 150 x 0.44 = 66
Step 6: placing the second shoulder shaping. Work out which row will have 66 stitches. I know that row 27 now has 38 stitches, so working forward from this, row 55 will have 66 stitches.
Step 7: working out second shoulder shaping increase. On row 55 I need to increase by 20% of the stitches I currently have. I have 66 stitches, so I need to add an additional 66 x 0.2 = 13.2 stitches. In this case I would probably round this down to 12 stitches.
Hanging on in there? You also need to think about the central gusset. In the base pattern this is increased by 2 stitches every 16 rows. You may want to change this too, to make sure that everything stays in proportion to the new size of the shawl.
In working out the original pattern, I found this worksheet extremely helpful – and you may too. Just remember that this is written for the traditional construction of a Faroese knitted shawl which is from the bottom up, rather than from the top down.
Changing the shape
If all of the above sounds too much of a palaver, but you still want to change the size of the pattern, then you could simplify things considerably by omitting the shoulder shaping. This would give you essentially a triangle shawl, with a central gusset. You could make things even easier by omitting the gusset too, and replacing it with a single spine stitch. This would create a triangle shawl which increases by 4 stitches on every right side row.
If you do decide to change the size or shape, but want to keep the lace border, do keep in mind that the number of stitches on the final row needs to be divisible by (half of) the row count of the lace pattern you are using. Remember as well that the number of stitches on this row includes both triangles and the central gusset.
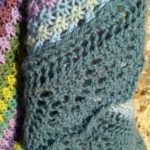
Changing the stitch pattern
There are just a few things to consider if you want to change any of the stitch patterns. Firstly, each triangle increases by 2 stitches every right side row – you would want to choose something compatible with this construction. Secondly, you need to think about the row height of the stitch pattern, especially if you are planning different patterns for the triangles and central gusset. A garter-stitch based pattern will have less height than a stocking-stitch based pattern. So, for example, you might want to substitute garter-stitch for the rosette stitch but keep the old shale pattern for the central gusset. In this case, the gusset will grow more quickly than the triangles, causing distortion. This could be solved by knitting the return row on the central gusset too. It would not effect the overall lace of the gusset, but would maintain the stitch height across the entire row.
I hope you have found these thoughts helpful, and that you have fun adapting the pattern to fit your own needs. I wish you much enjoyment of your new shawl. Happy knitting!