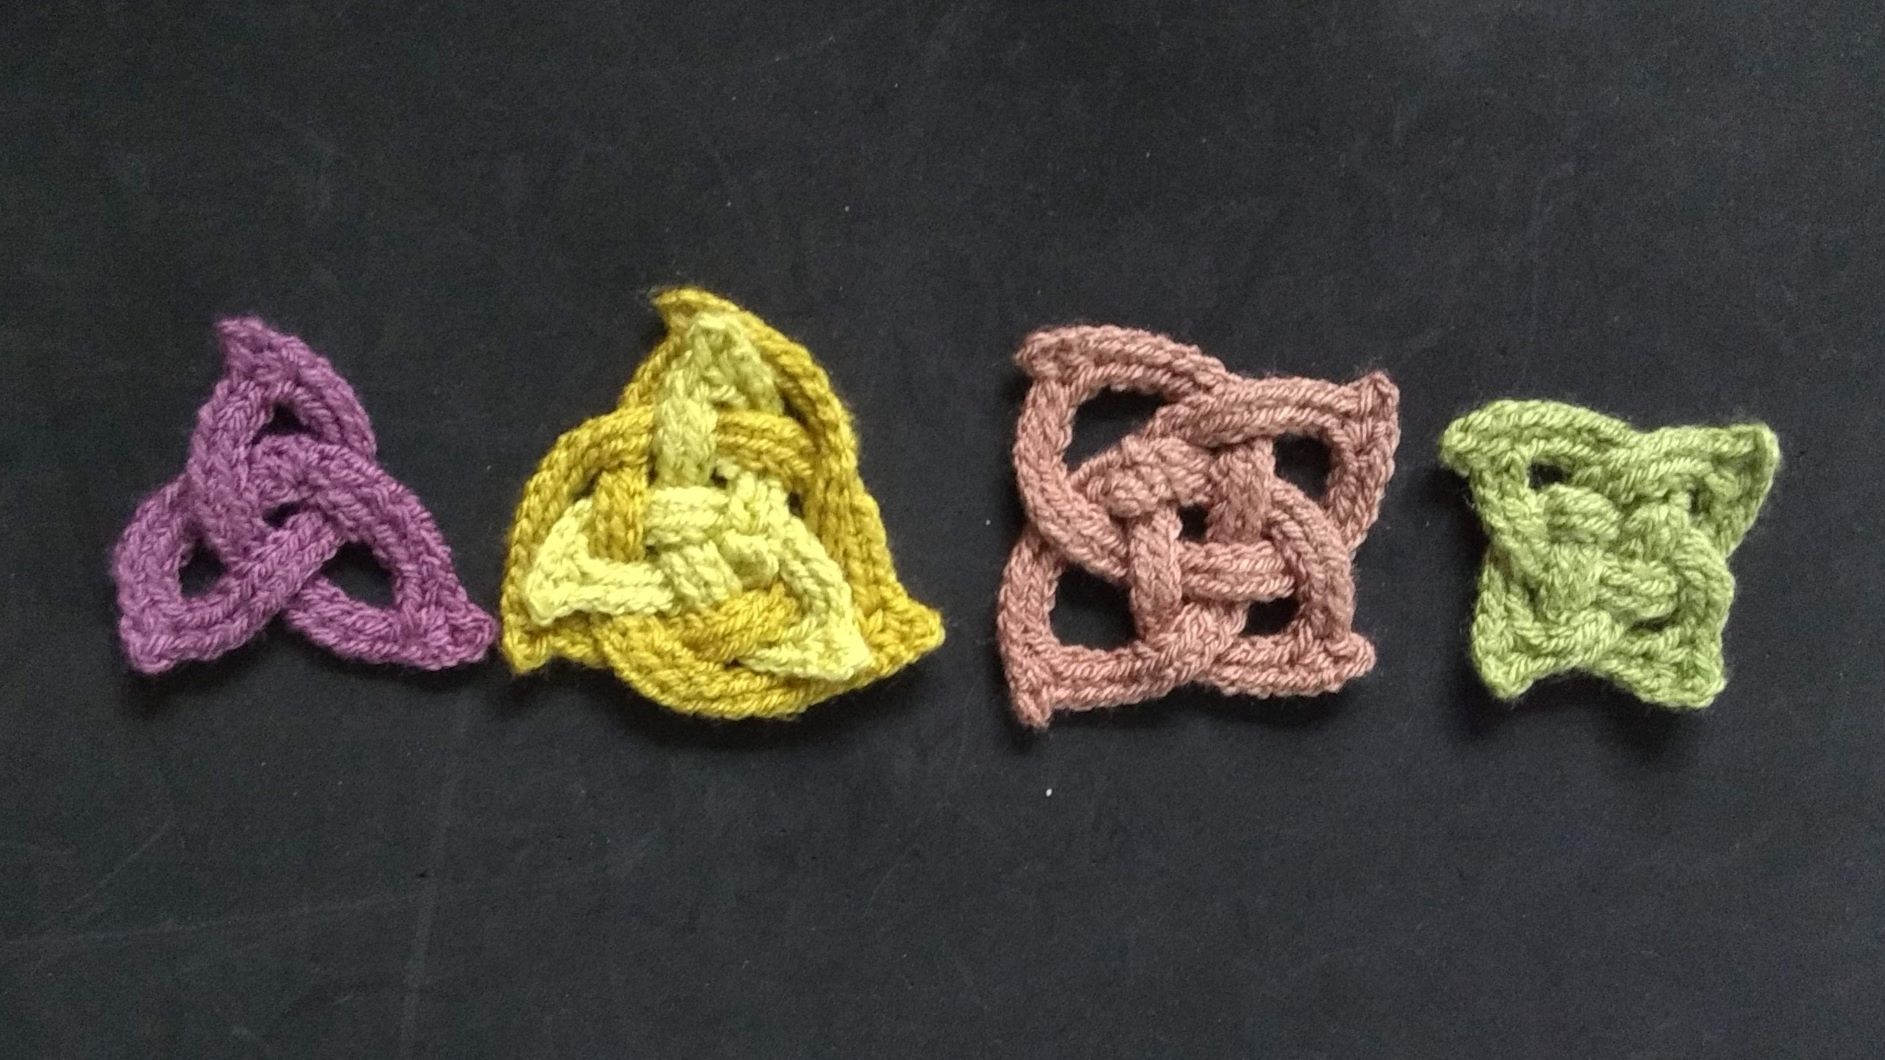
These crochet motifs are inspired by celtic knot designs, and are very quick and easy to crochet. The hardest part is twisting them up into the knots! They have many uses – apply as decoration to almost anything, or use the convenient picot points to join them together in free-form crochet.
The photos show DK yarn on 4mm hook, but any yarn weight and hook size should work. Do bear in mind though, that changing the hook size will change the overall dimensions of the motifs. All instructions are written in UK terms. To change to US terms the only difference is a double crochet (dc) is a single crochet (sc).
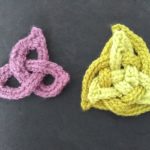
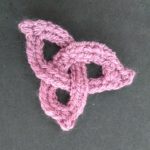
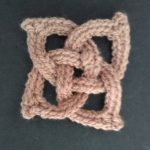
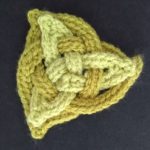
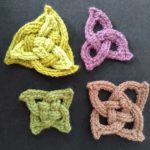
Single trinity celtic knot (triangle)
Row 1: *ch 8, ch3 and slip st into the first chain of the group (now referred to as picot), ch 8. Repeat from * twice more.
Row 2: ch 1, *1 dc into next 7 stitches, dc3tog (take a loop from the next st, from the centre of the picot, and the following stitch. You should have 4 loops on your hook. Pull a loop through all 4 loops), 1 dc into next 7 stitches. Repeat from * twice more.
Fasten off, leaving a tail to weave in later.
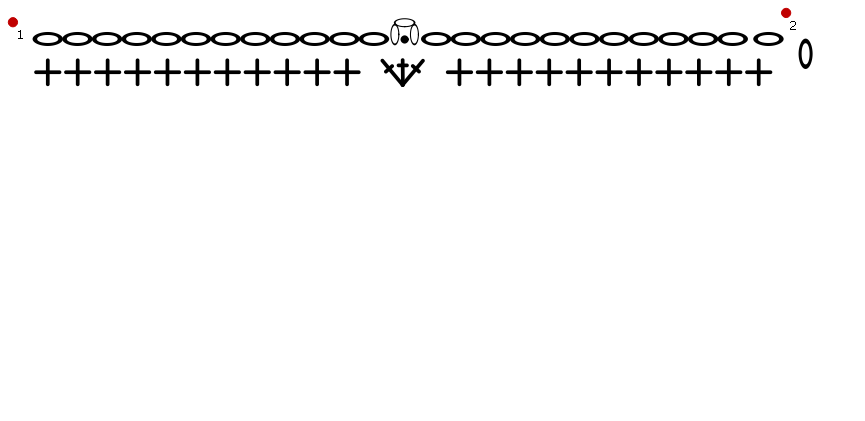
If you prefer working by chart, the repeat sequence is given below (between indicators 3 and 4). You need to work this three times, then ch 1 to turn the row.
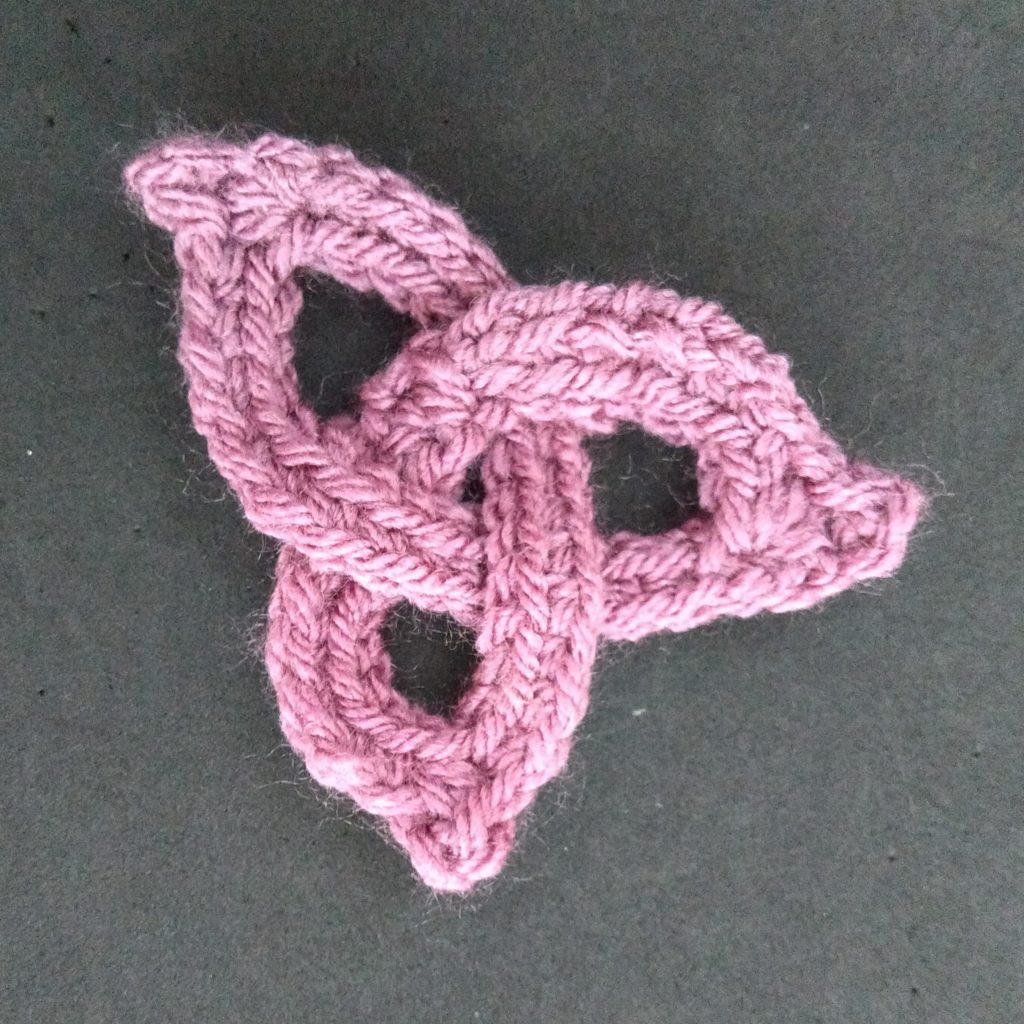


The next step is to weave the knot together. You need to take care when you are doing this to make sure that the crochet does not twist on itself, but lies flat. Double check before you sew the join! It may help to pin the crochet down as you twist the cord into a knot, but this may not be necessary for the triangle. Remember that the picots are the points of the triangle.
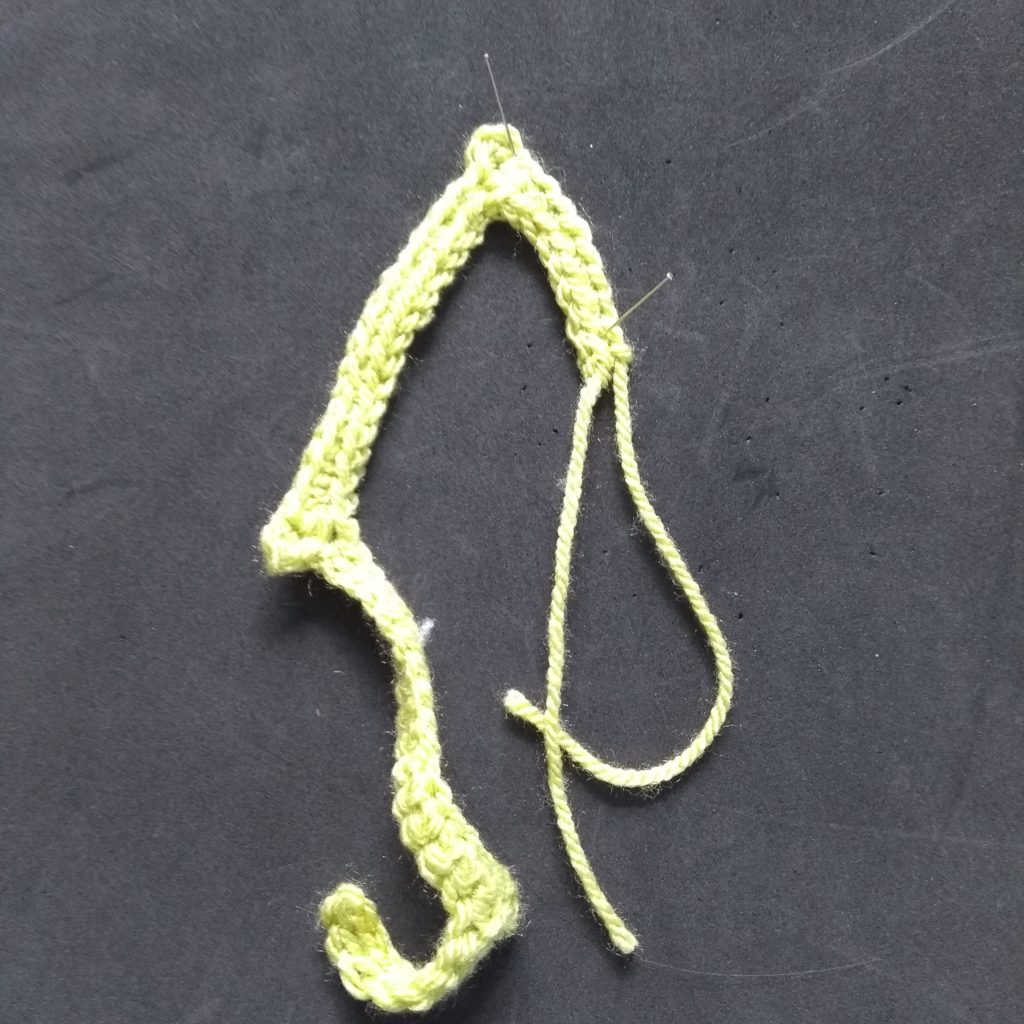
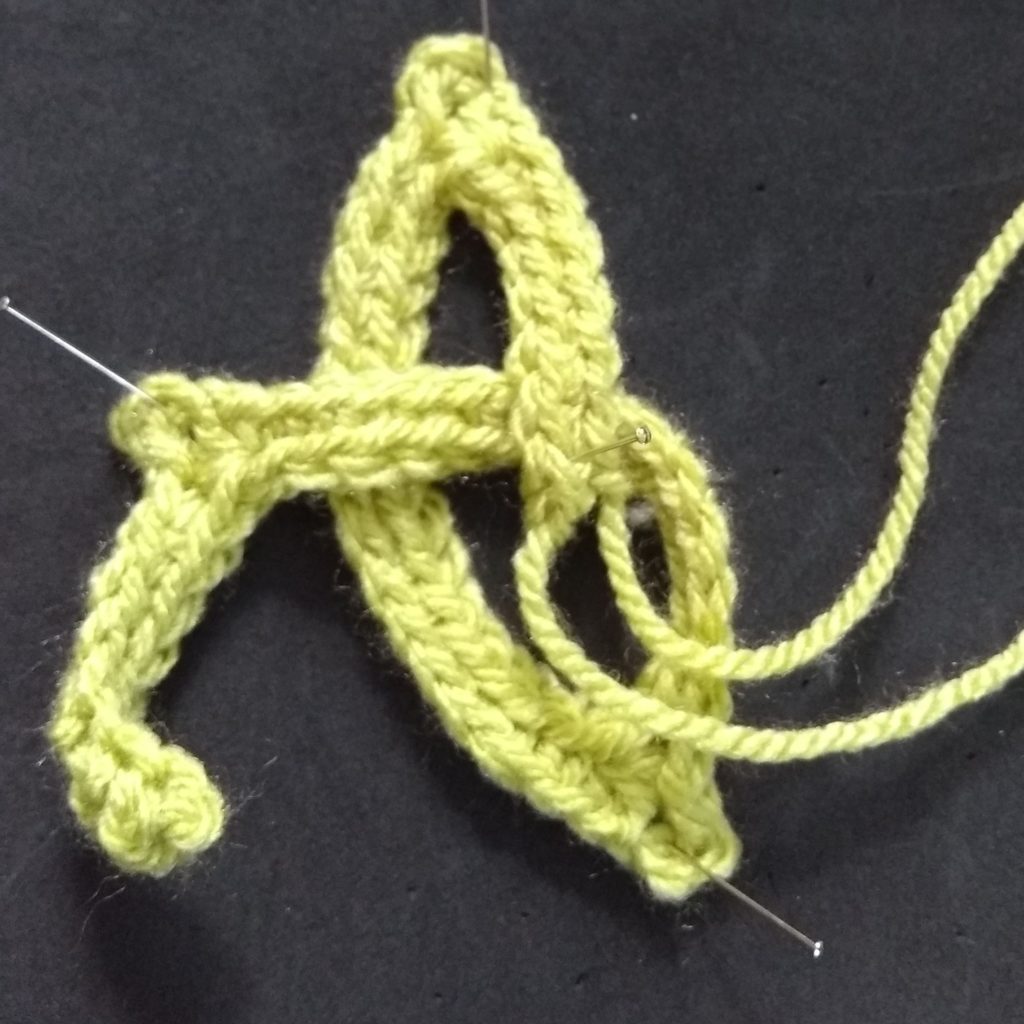
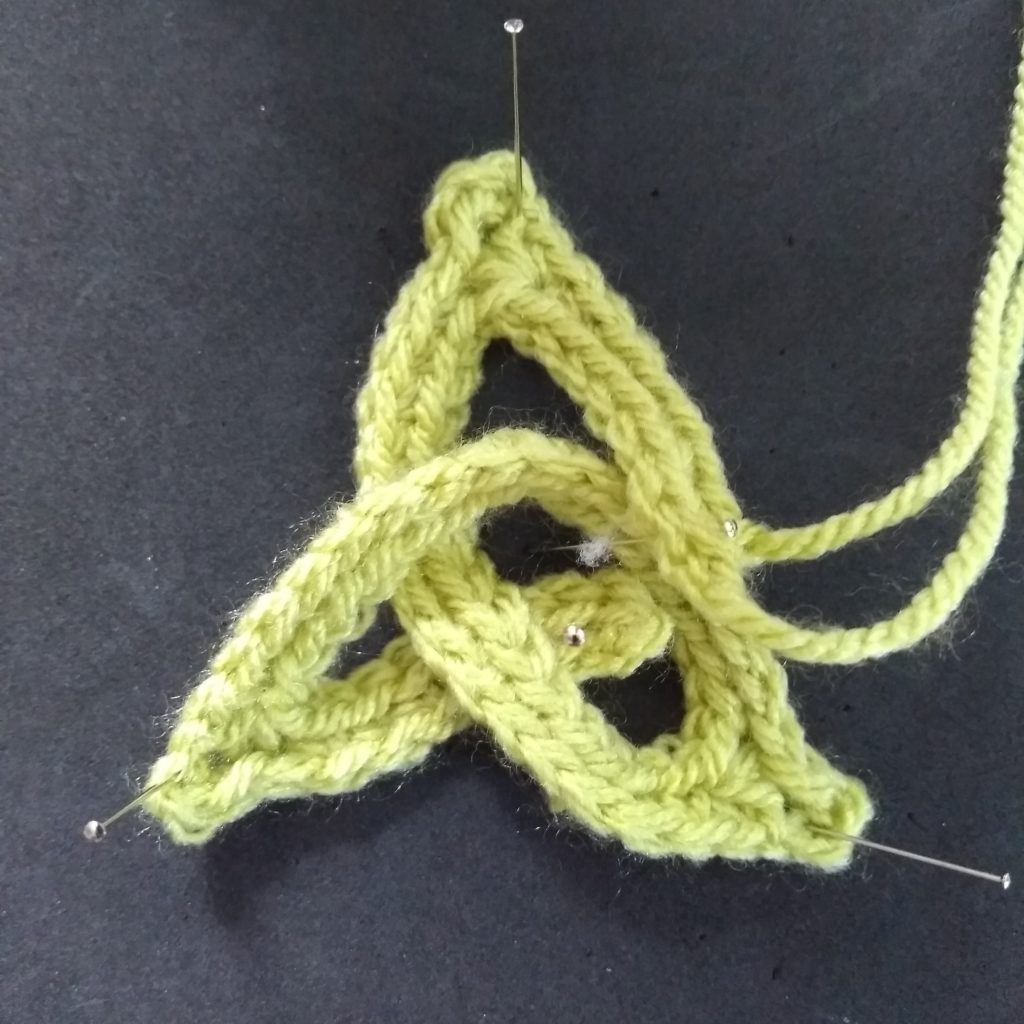
Step 1
Place the first point to the top, having the end with the yarn tails on the right.
Step 2
Take the strand on the left down and across to the right. Pin the point, then continue back under the end with the yarn tails and over the strand you have just placed.
Step 3
Pin the third point on the left, then continue under the first strand and over the second to join to the edge with yarn tails (this may already be placed over the relevant strand). Sew edges together and weave in ends.
Double trinity celtic knot (triangle)
When crocheted with DK yarn on 4mm needles, this motif measures approximately 8 x 8 cm (3 x 3″). First make a single triangle knot as described above. For the outer triangle: Row 1: *ch 12, picot, ch 12. Repeat from * twice more. Row 2: ch 1, *1 dc into next 11 stitches, dc3tog, 1 dc into next 11 stitches. Repeat from * twice more.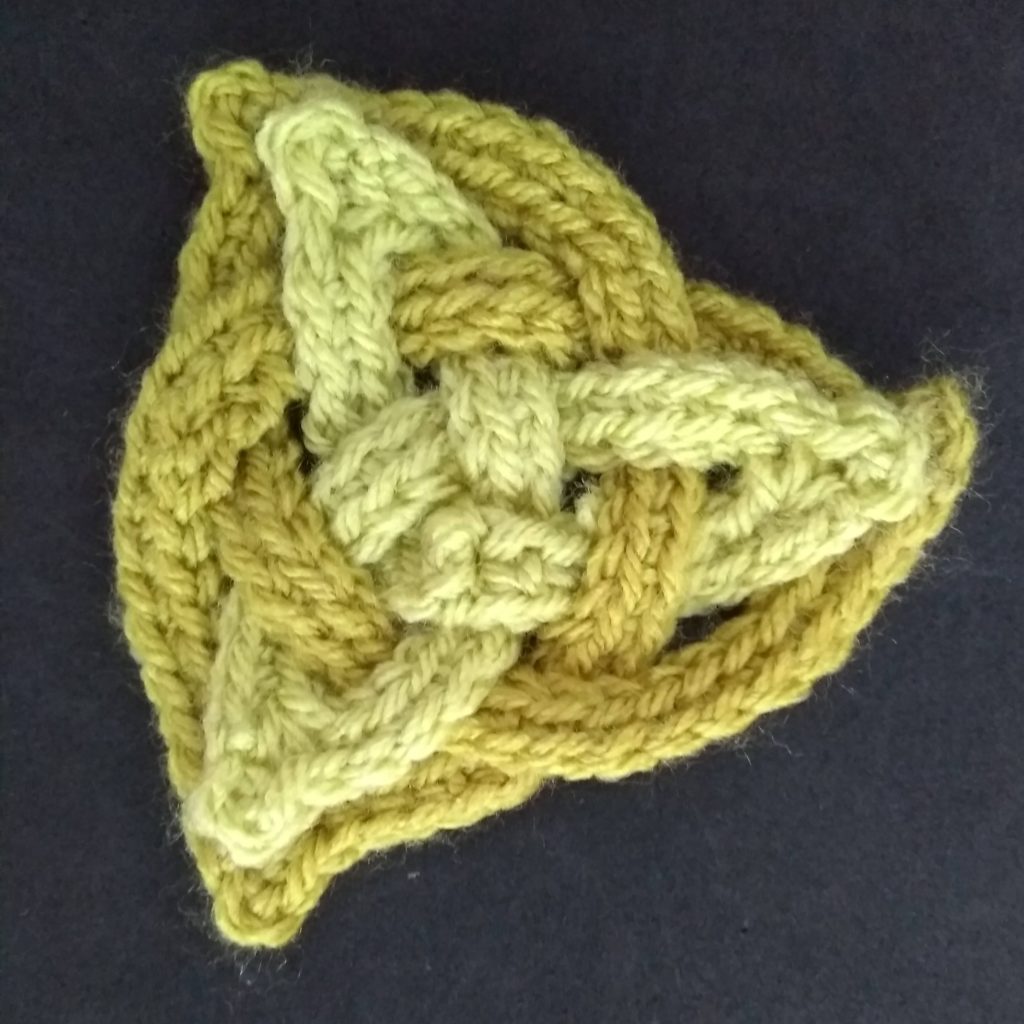
The next step is to weave the knot together. Start with the single triangle first, and weave the outer around it, making sure you respect the alternate over / under passes of the strands.
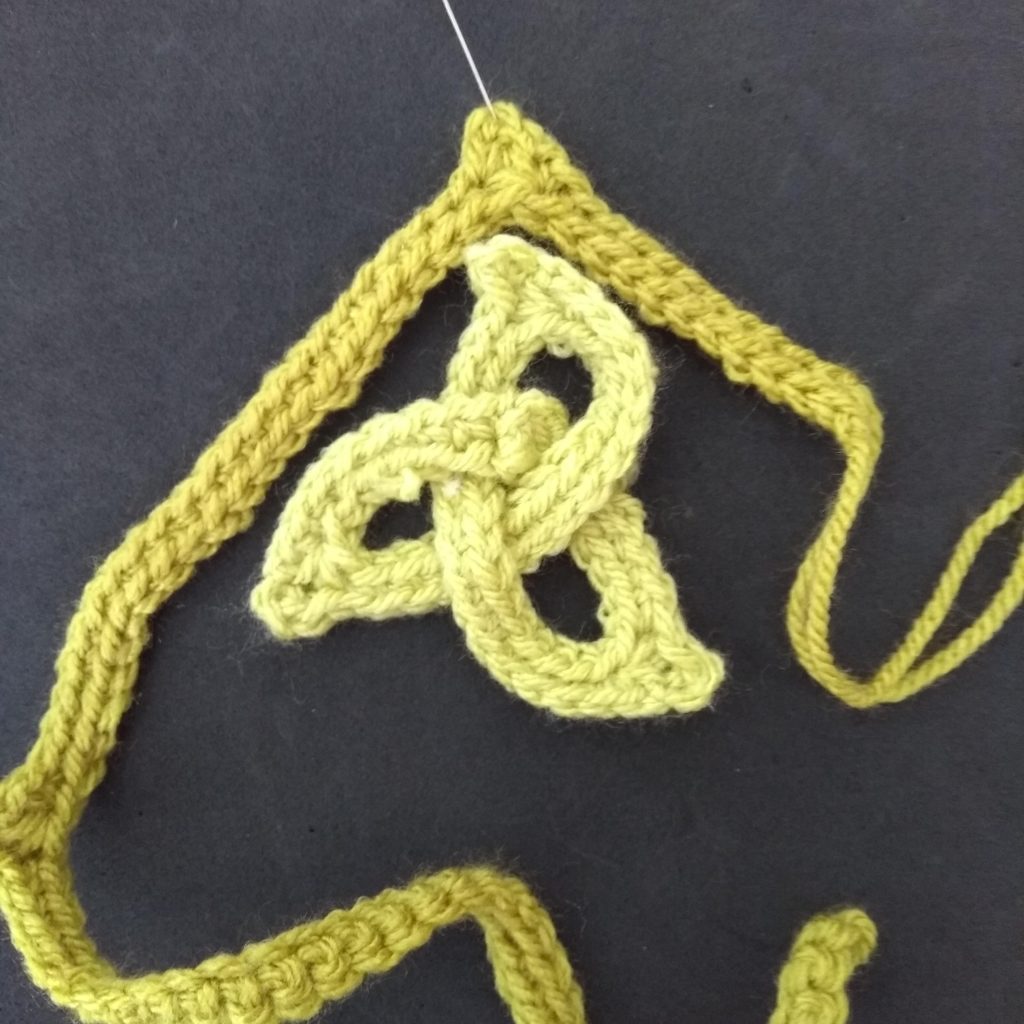
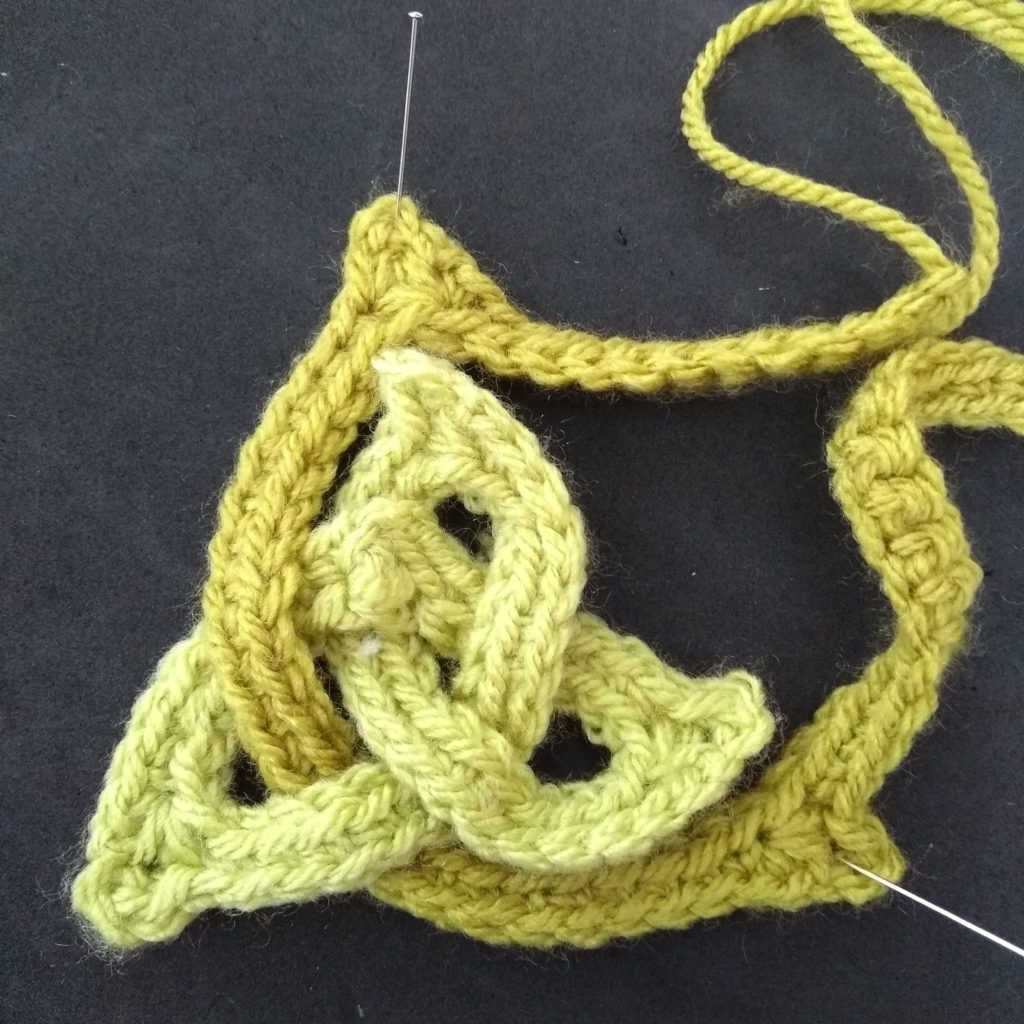
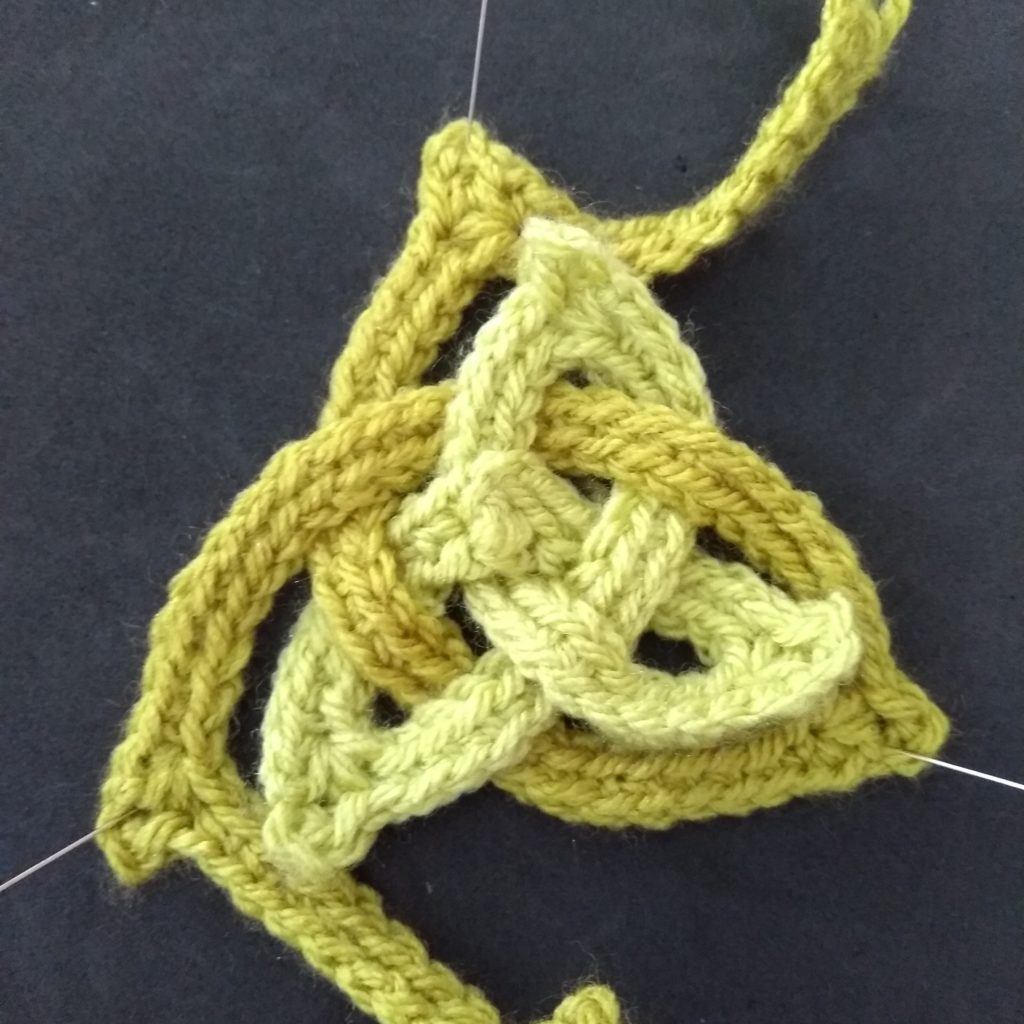
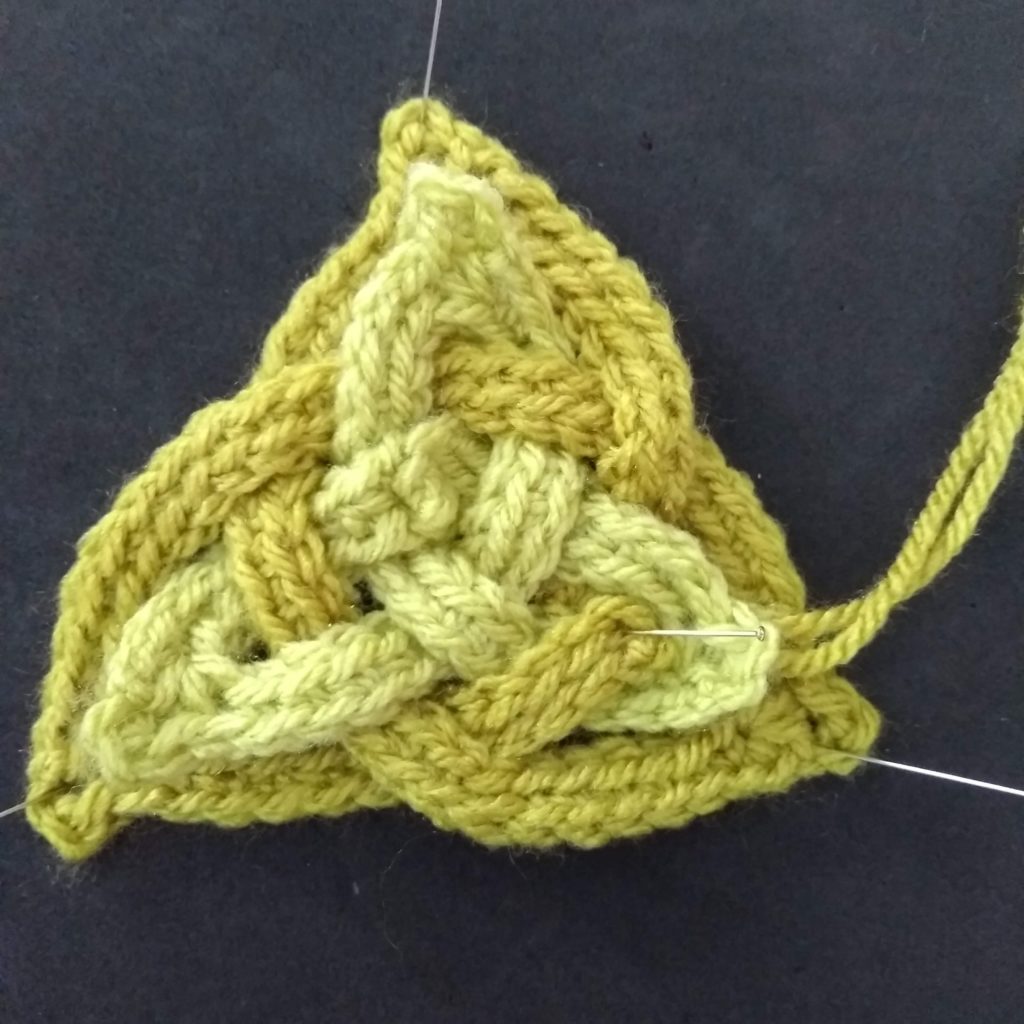
Step 1
Place the first point to the top, above the single triangle and having the end with the yarn tails on the right.Step 2
Bring the left hand strand down, over the top of the single triangle and through its left hand loop. Continue below the single triangle and pin the point of outer triangle on the right.
Step 3
Continue going around the outside of the right hand loop, then pass the strand through the top loop of the single triangle, passing over the first strand and under the second. Pass over the outer triangle strand, and pin the point on the outside of the left hand point of the single triangle.
Step 4
Continue below the single triangle. Pass under the outer triangle strand, and through the single triangle’s right hand loop,passing over the first strand and under the second. Sew the ends together, making sure you pass over the top of the last outer triangle strand. Weave in ends.
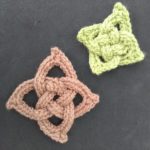
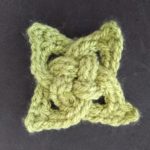
Square celtic knot (small and large)
When crocheted with DK yarn on 4mm needles, the small motif measures approximately 5 x 5 cm (2 x 2″) and the large motif measures approximately 8 x 8 cm (3 x 3″).
Instructions are given for both. The small square is given first, with numbers for the large square in brackets following.
Row 1: *ch 8 (12), ch3 and slip st into the first chain of the group (now referred to as picot) ch 8 (12). Repeat from * three more times.
Row 2: ch 1, *1 dc into next 7 (11) stitches, dc3tog (take a loop from the next st, from the centre of the picot, and the following stitch. You should have 4 loops on your hook. Pull a loop through all 4 loops)1 dc into next 7 (11) stitches. Repeat from * three more times.
Fasten off, leaving a tail to weave in later.
If you prefer working by chart, the repeat sequence is given below (between the indicators). You need to work this four times, then ch 1 to turn the row.
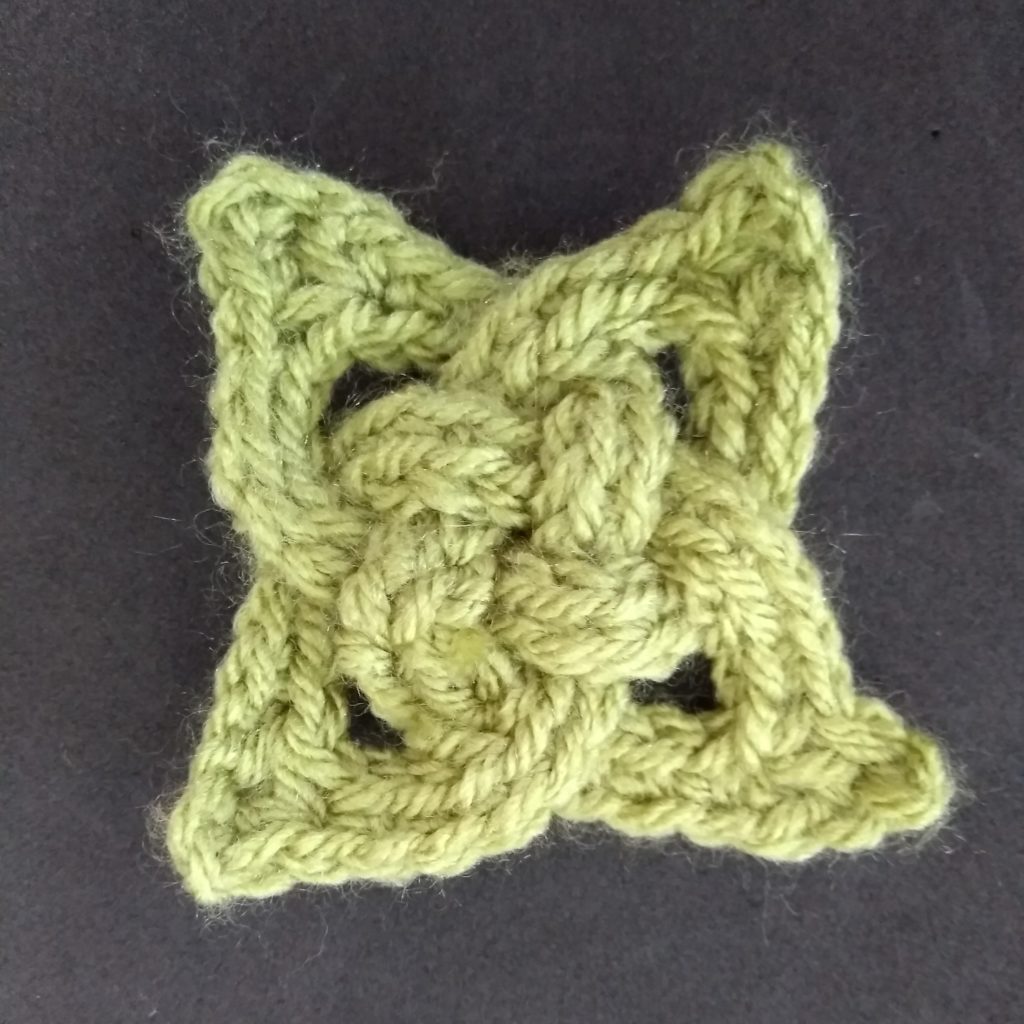
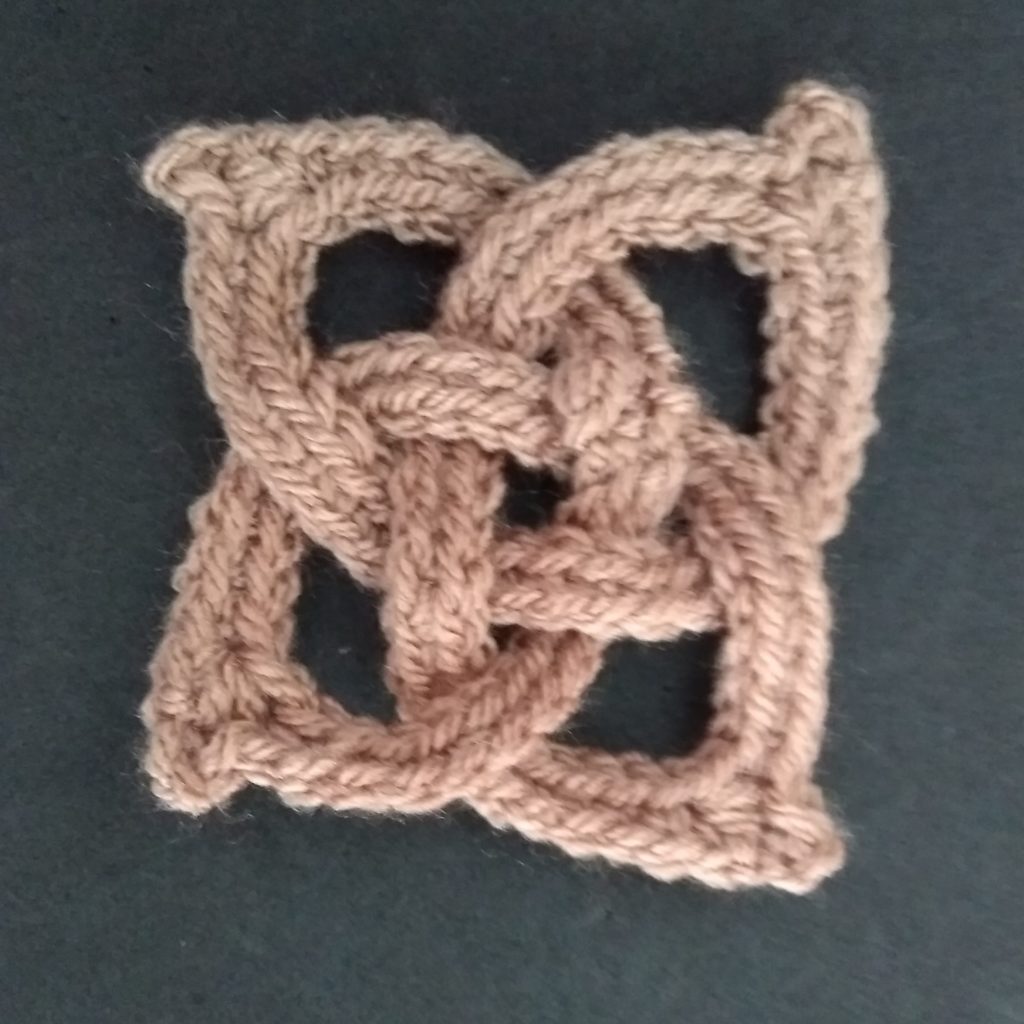
Chart for the small square

Chart for the large square


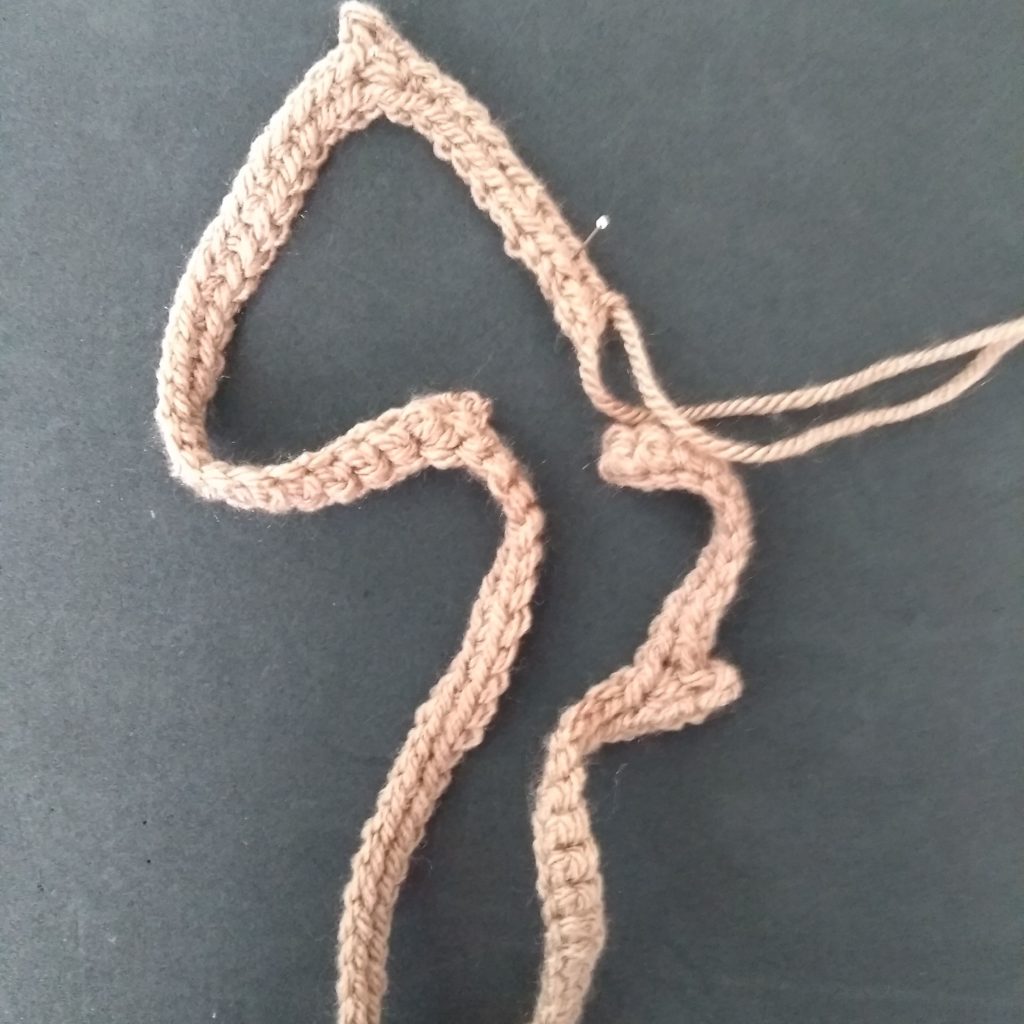
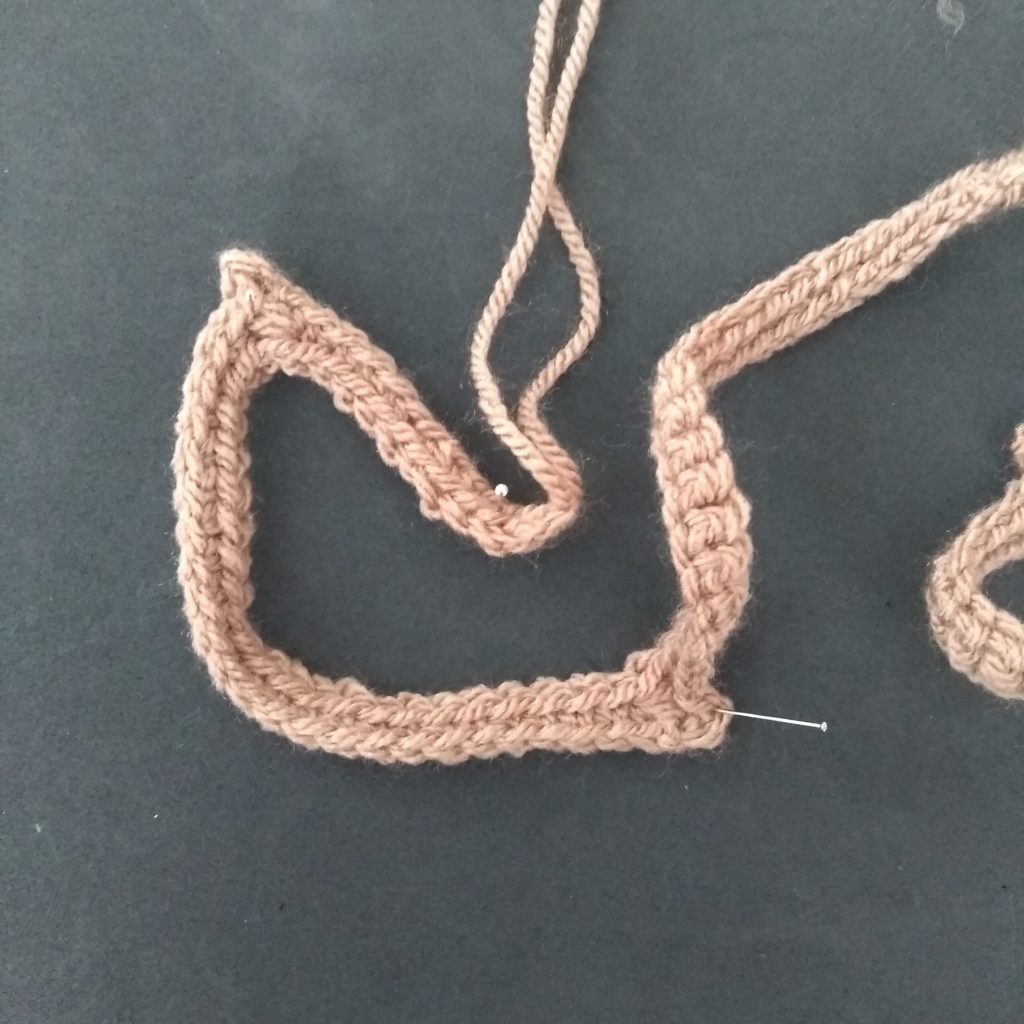
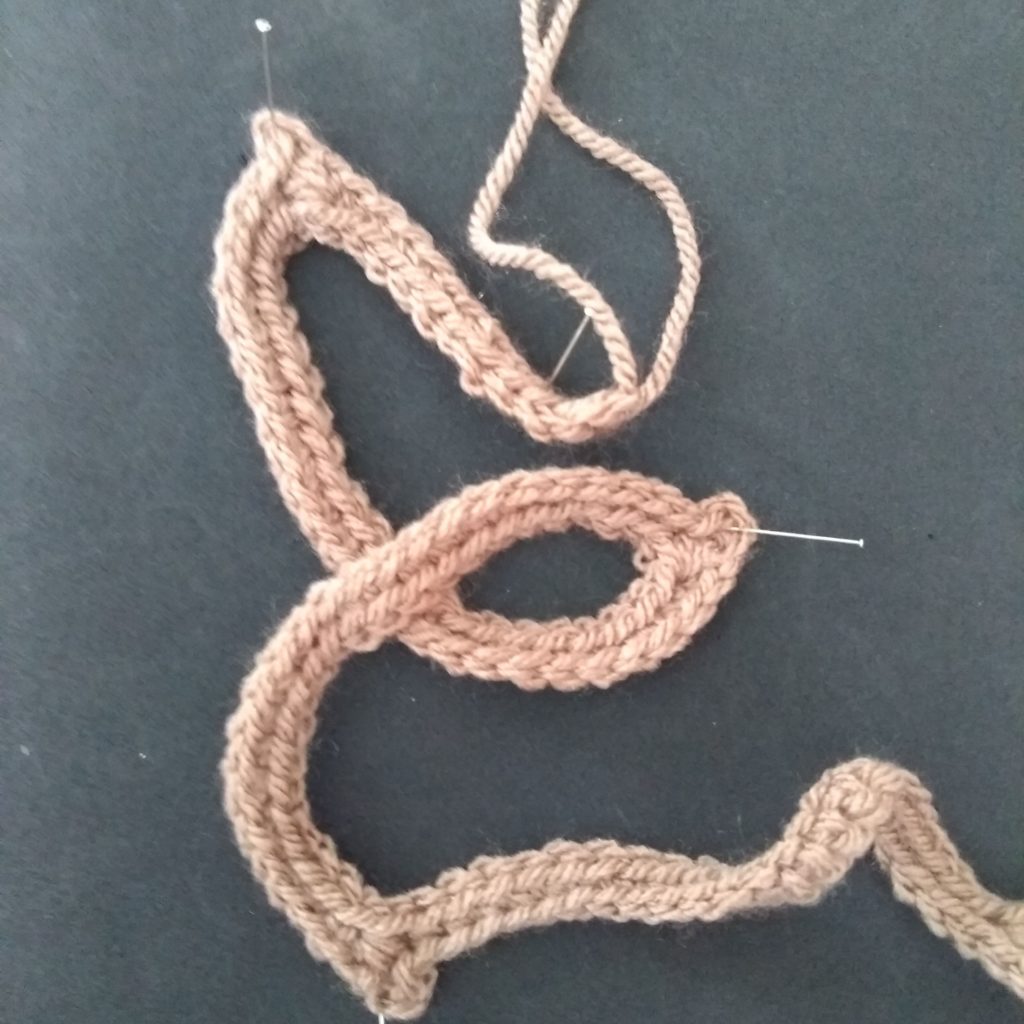
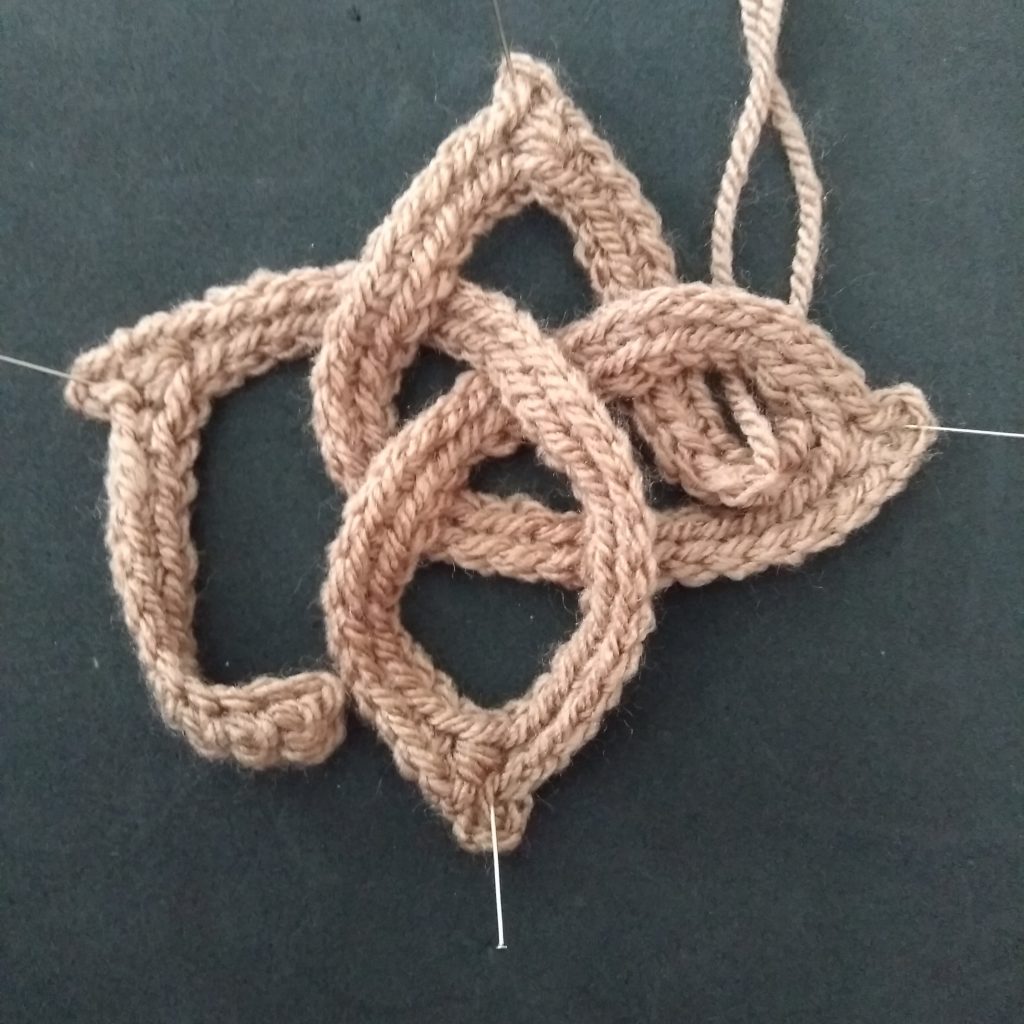
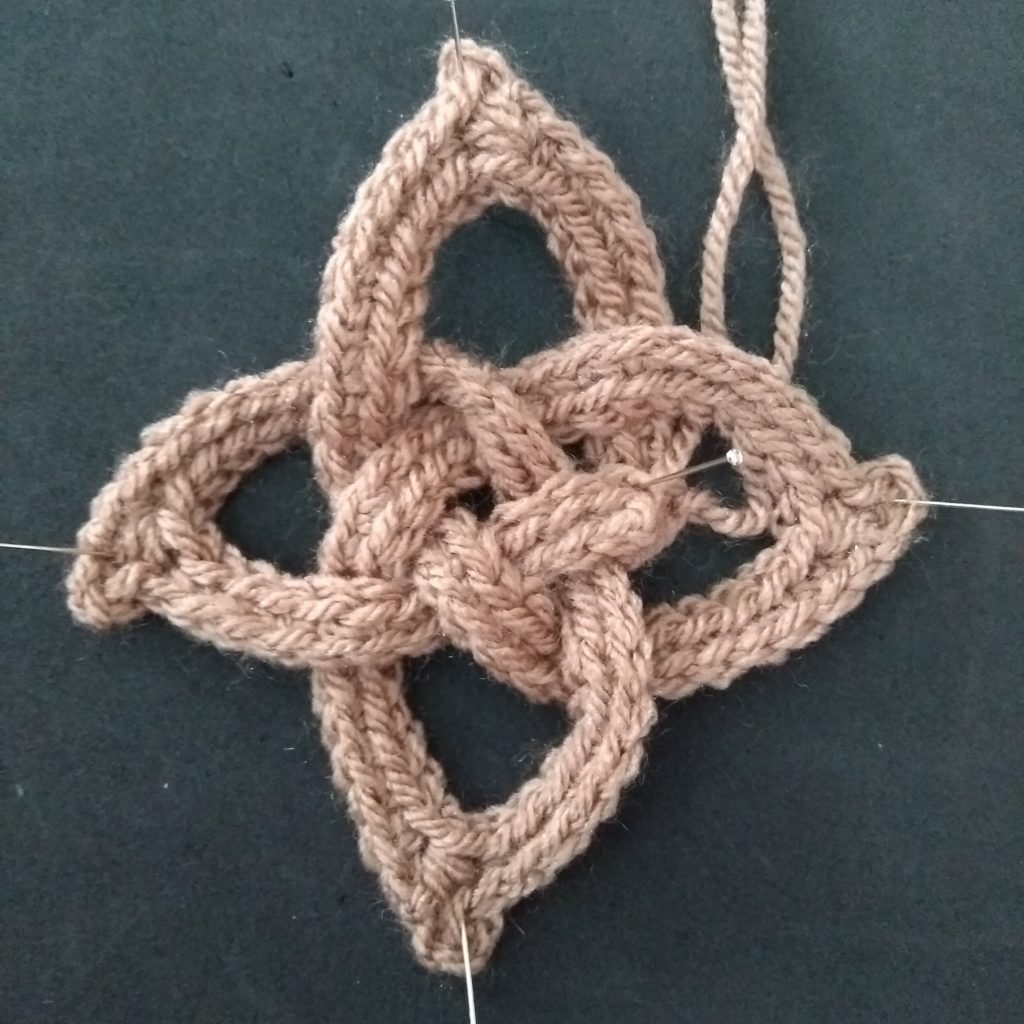
Step 1
Place the first point to the top (12 o’clock), whilst having the end with the yarn tails on the right.Step 2
Step 3
Continue on to create the first loop, passing over the top of the strand already there. Pin the third point at the bottom of the square at 6 o’clock.
Step 4
We are going to break the alternating over/under rule, but that will be OK as we will come back later and fill in the gaps. So, complete the bottom loop, going over BOTH the first AND second strand. Keep going to the left, and go under the third strand you meet. Pin the loop at 9 o’clock. Now bring the end with the yarn tails under the its nearest strand, into the right hand loop.

